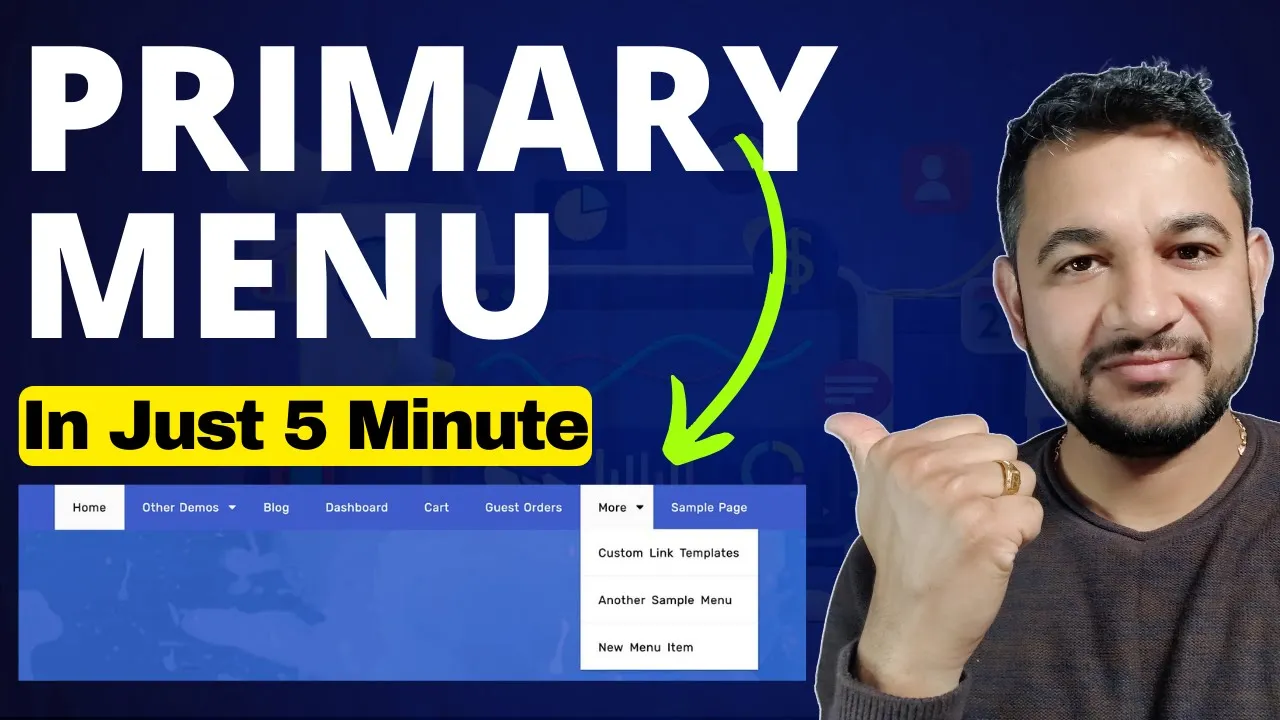
Creating a WordPress Menu is an important thing to do in order to make navigation through your website easier. Arranging the menu in decent order will make the user experience better for the audience since they will be able to search for content easily. This tutorial will detail how to add and tweak a primary WordPress Menu so that your visitors can navigate around the site with ease and make it look great as well.
🌐 Guidance on WordPress Menus
Menus in WordPress are of great importance in terms of navigation features in the site. Most websites have two common types of menus, which include the primary menu as well as the footer menu. The primary menu is always at the top of the website to assist users in locating key areas. The footer menu, on the other hand, contains all the links which are not of top importance but may still be useful to the user.

In this guide, you will learn how to set up a primary WordPress Menu for your site. If one wishes to do so, multiple links can be provided to posts, pages, categories, or even off-site blog entries, thereby enhancing the navigation design.
🔍 Steps to Make a Primary Menu
Making a primary WordPress Menu is relatively simple. The following procedures will help you have your menu ready and set.
- So first go into your WordPress login page and log in to your account
- Locate Appearance and then look for Menus.
- Now in the Menu Name box, provide a name for your menu, say, ‘Navigation Menu’.
- For the Primary Menu to appear at the top of your site, tick the checkbox for this option
- Proceed to Create Menu
After you have created your menu, go ahead and begin adding items to it. This is where the fun begins!
📋 Adding Items to Your WordPress Menu
Now that you have created a new WordPress Menu, there are a number of ways to add items to the newly created Menu
1.Individual Blog posts
You can add an individual blog post to your menu. Here is how:
- Click on the Menus tab
- In the Menus section, locate the Posts box.
- Select the View All to check out all the posts on your blog.
- Search for the post that you need to include in the menu and press Add to Menu.
- After it is done, Press Save Menu

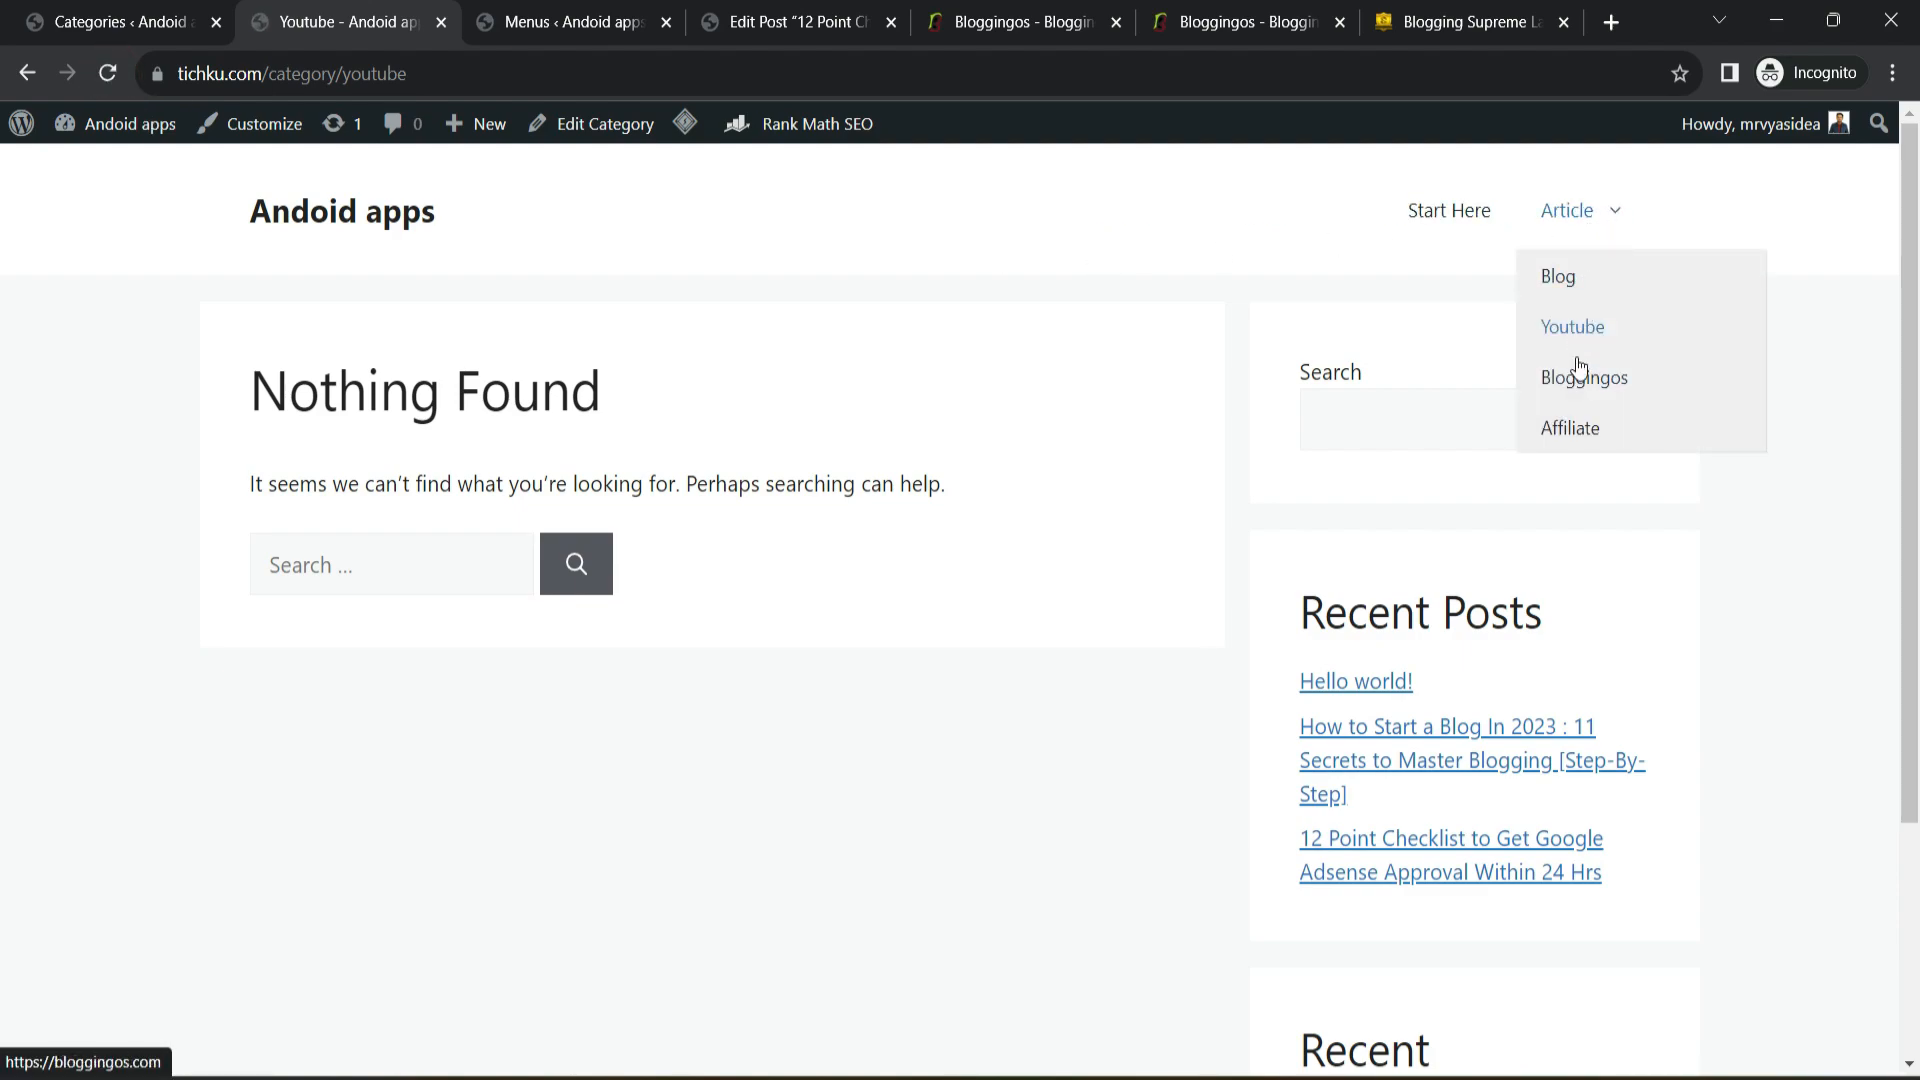
After saving, the website can be reloaded to check the updated menu for the new link pointing to a newly added blog post. To change what the text shows, press the down arrow next to the menu item and navigate to the Navigation label where you wish to edit the text.
2. Adding External Links
In order to put a hyperlink for an external website, do these: If you want to link to an external website, follow these steps. In the Menus section, locate the Custom Links window. Type in the address of the external website in the provided space. Type in the name of the link in the Link text box. Press Add to Menu.
In order to put a hyperlink for an external website, do these: If you want to link to an external website, follow these steps. In the Menus section, locate the Custom Links window. Type in the address of the external website in the provided space. Type in the name of the link in the Link text box. Press Add to Menu.
This technique gives you the ability to redirect users to other sites, which comes in handy when seeking partnerships or affiliate links.
📂 How To Add Subcategories To The WordPress Menu
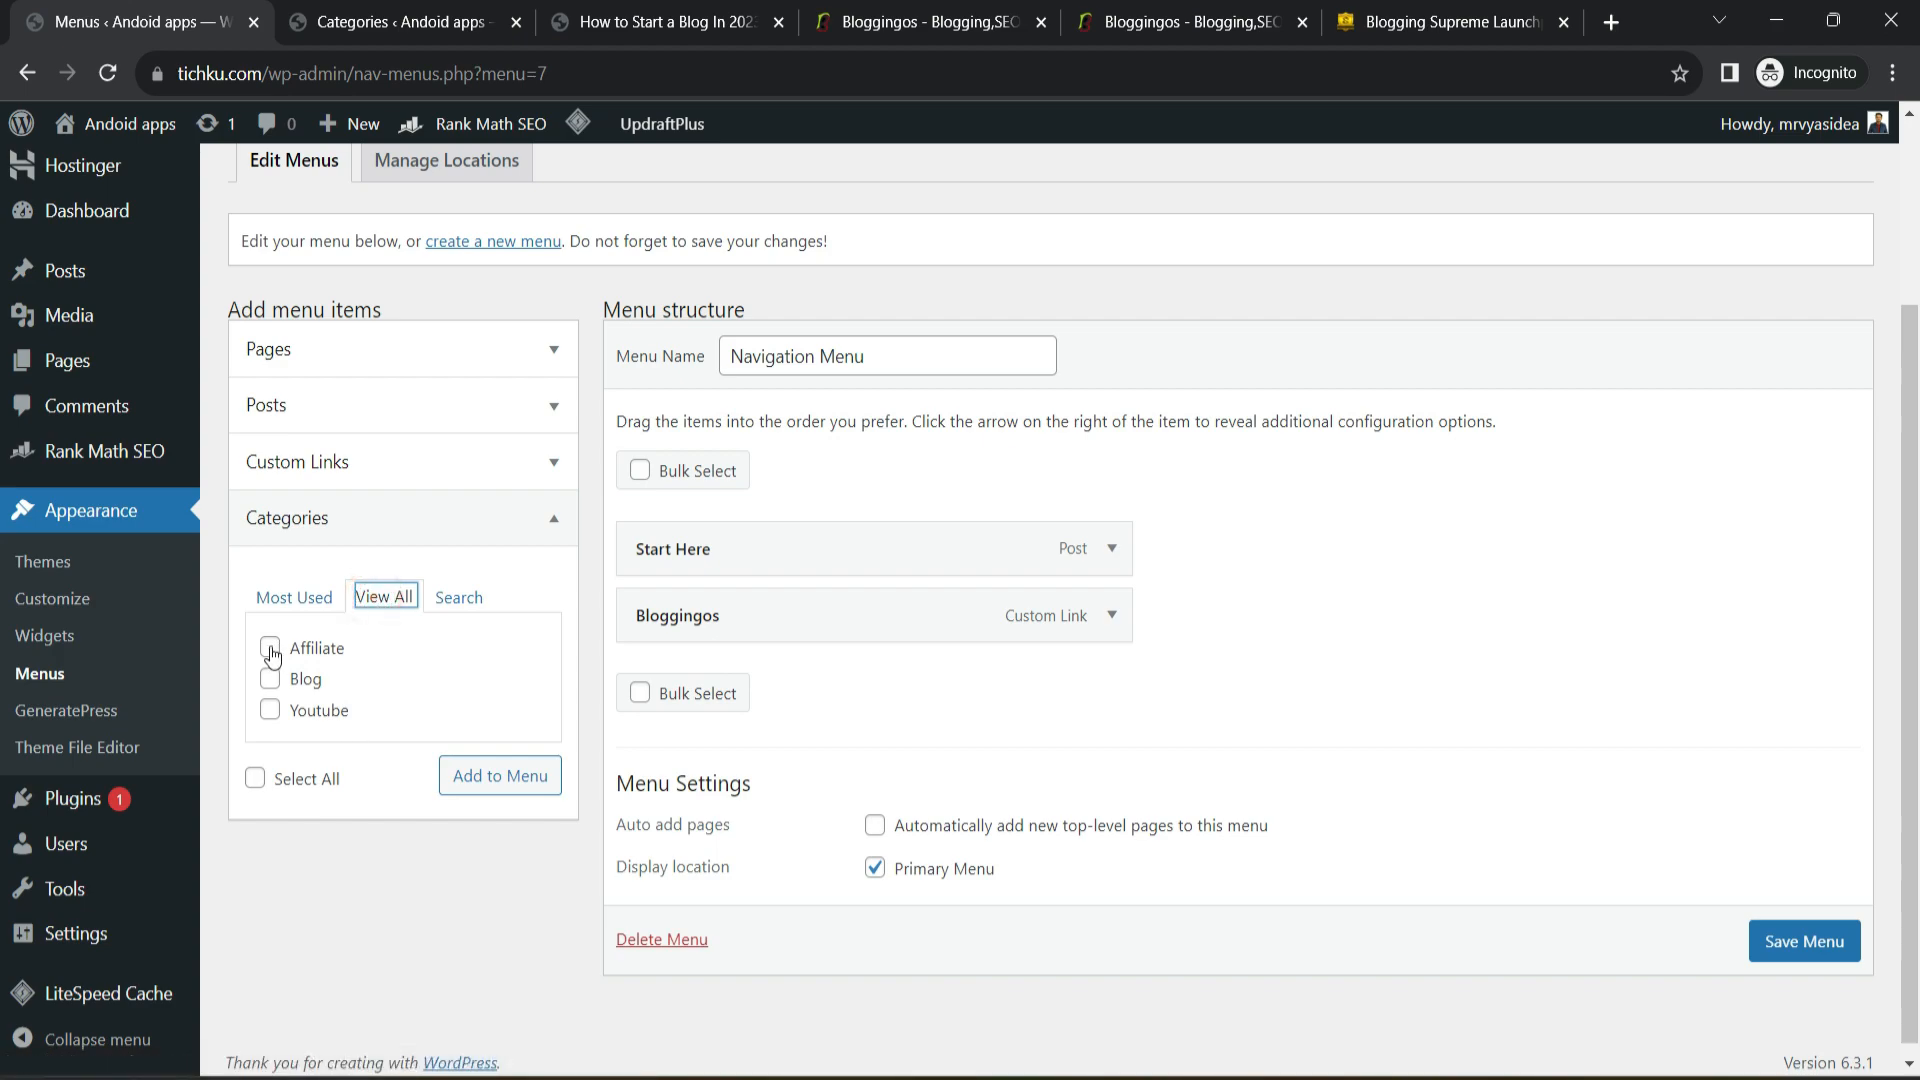
To structure your content effectively, you need to create categories. To include categories in your menu:
- Go to the categories section of the menus.
- Place the tick beside the categories you wish to be included and click Add to Menu.
- Click Save Menu to apply the modifications made.

Categories help visitors sift through content based on their specific interests and therefore improve their experience.
📄 How To Create Submenus
Submenus can also further arrange your WordPress Menu. As follows: To create a submenu:
- Place a menu item slightly to the right under another item to create a hierarchy.
- Click Save Menu to execute the changes.
Submenus are especially beneficial if you have many categories or sections under a main one.
📑 How to Add Site Pages on a WordPress Menu
It is advisable to include static pages in the WordPress Menu so that users have important information about the site. To add pages:
- Go to the Menus area and put emphasis on the Pages box.
- Select the pages you wish to add from the ones listed and click Add to Menu.
- After successful addition, the order can be changed.
- Click Save Menu when you have finished making any modifications.

Example pages to consider include “About Us” “Contact” and “Services”, which let users know what your site is about.
🔧 Changing the Way Your WordPress Menu Looks
Whenever you create a new menu, it is usually necessary to alter its appearance to suit your preferences. Most themes allow you to customize the look of the menu. The steps are as such:
- Click on Appearance followed by Customize.
- Click on Menus.
- Select the menu or navigation bar to be adjusted and edit it.
If your theme allows for it, you can change the color and fonts as well as the layout of the text and images.
📝 Adding a Footer Menu
Along with the standard WordPress Menu, you may wish to add a footer menu of more links. The steps are more or less the same:
- Click on Appearance and choose Menus.
- Type in your footer menu.
- Press Create Menu with the primary menu checkbox unchecked.
- Include the pages, categories or custom links that should be included.
- Finally click Save Menu.
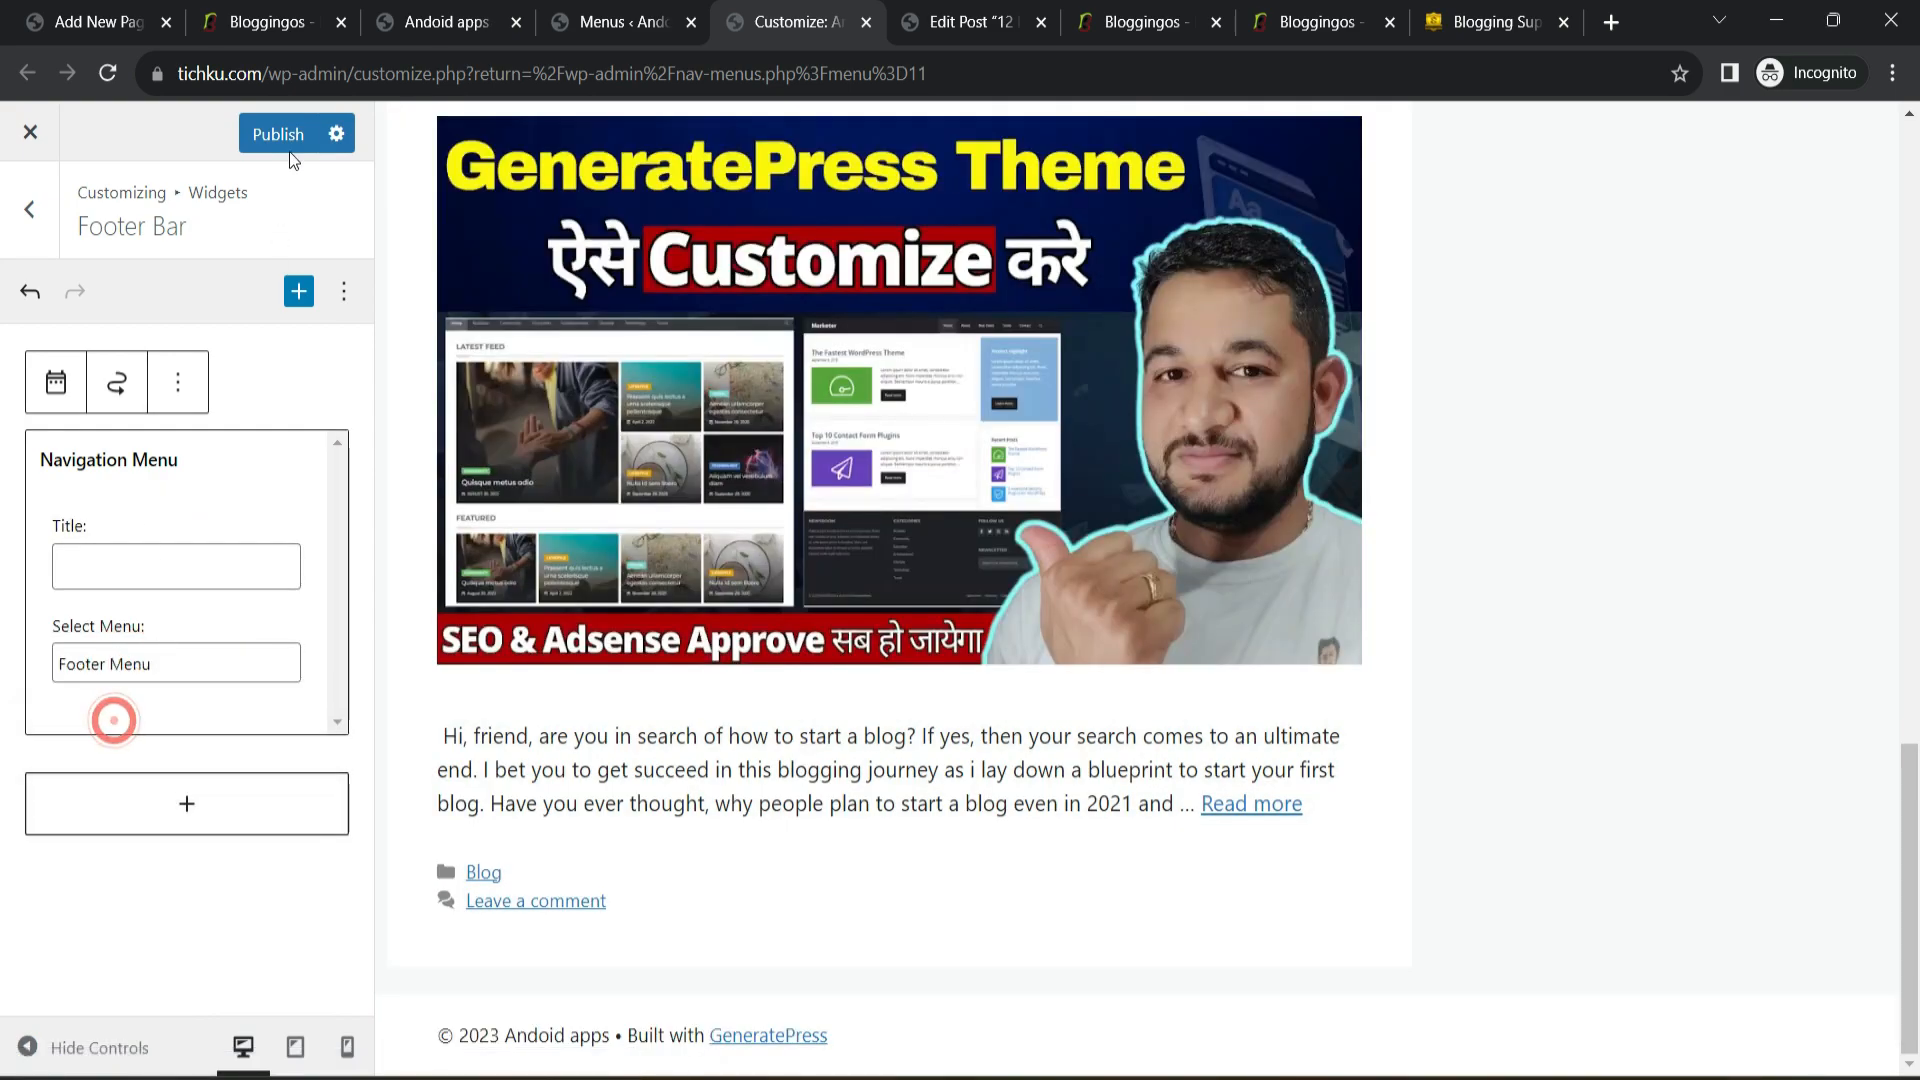
After a footer menu has been created, a user may assign that menu to the footer section when customizing their theme.

🔄Final words
One of the key procedures in designing a website, which is easy and clear in navigation, is the creation of the primary WordPress Menu. This will allow you to connect blog posts, pages, categories, and even external resources if needed.
