The concept of a WordPress Feature Image is very useful when it comes to making a blog post more appealing as it provides the readers a visual representation of the subject in question while enriching the possibilities of SEO. In this guide, we are going to demonstrate to you how to add a feature image in just five steps.
Feature images come with two great benefits, which are:
- Image Feature: They are able to communicate the idea of the post in one click
- Blog Boost: Placing feature images will increase blog visits since readers will be able to view the image ads from Google Image Search
By adding feature images, readers will not only promote the interest of readers but also optimize the chances of the blog appearing in image search pages.
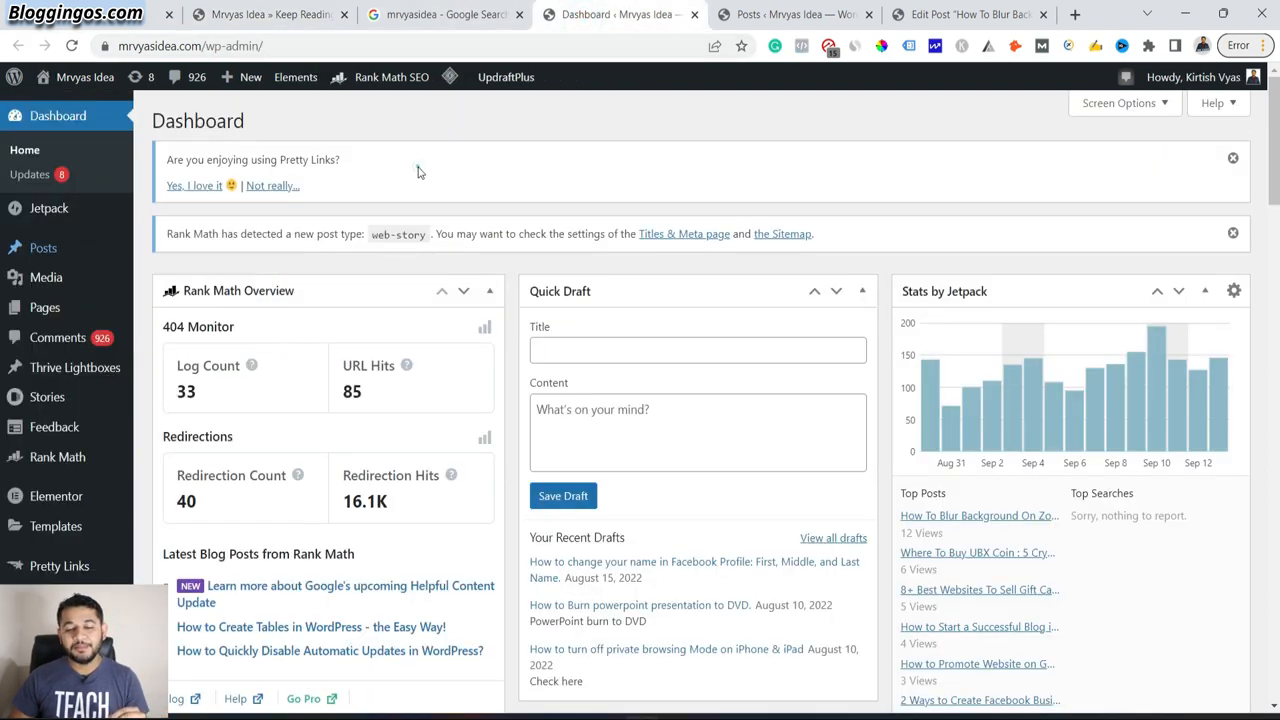
Step 1: Log in to Your WordPress Admin Area for Feature Image 🔑
Start by using your login credentials to enter your WordPress admin dashboard. From this point, all of the options for blog management will be available to you.
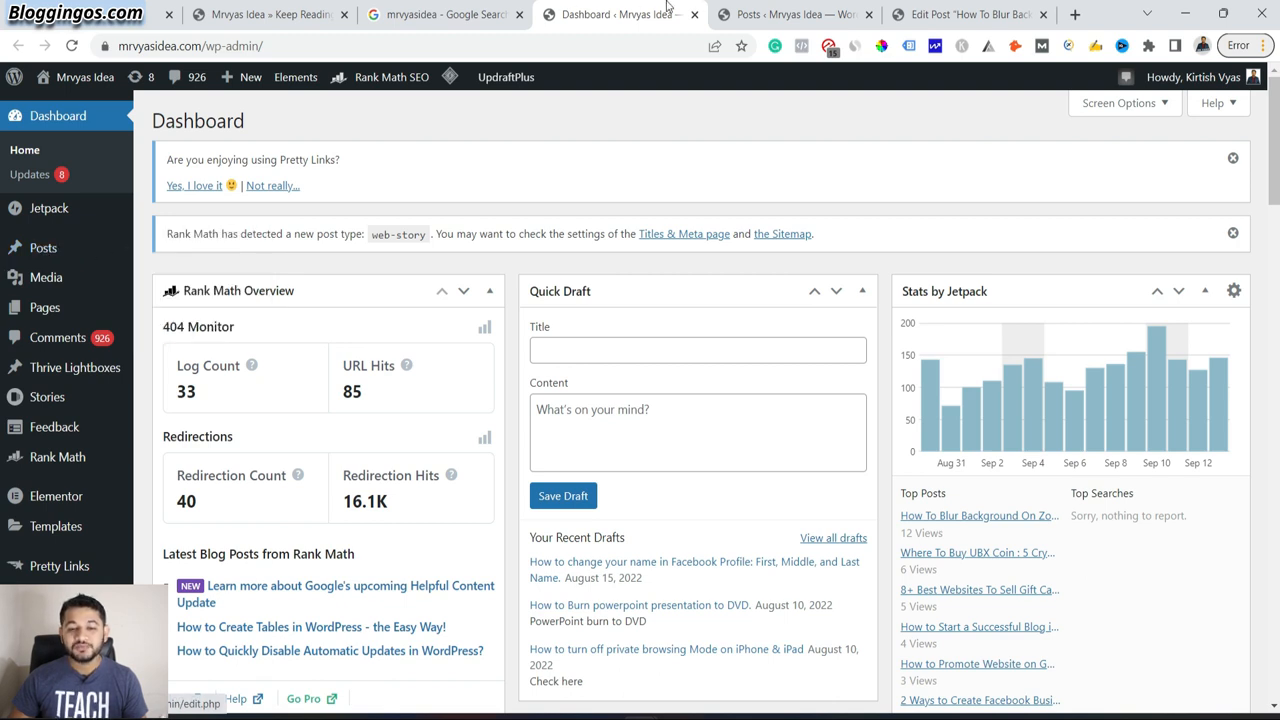
Step 2: Click on Your Posts 📄
Now that you have logged in to the application click on posts which is on the left sidebar. Then, click on All Posts to view the count of posts that you have published.
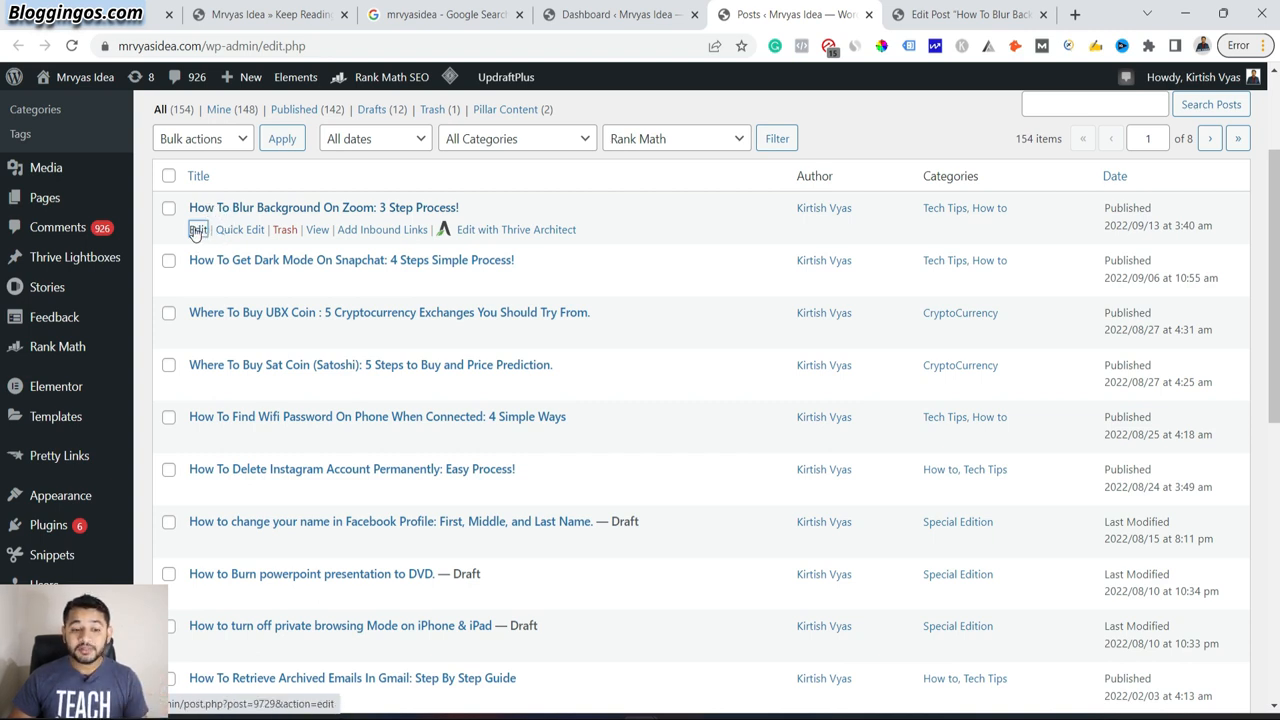
Step 3: Proceed to the post that Requires Editing ✏️
Grab the blog article to which you want to place a feature image. First, open it up in your editor by clicking the title of the post. There you will see an option to add the image.
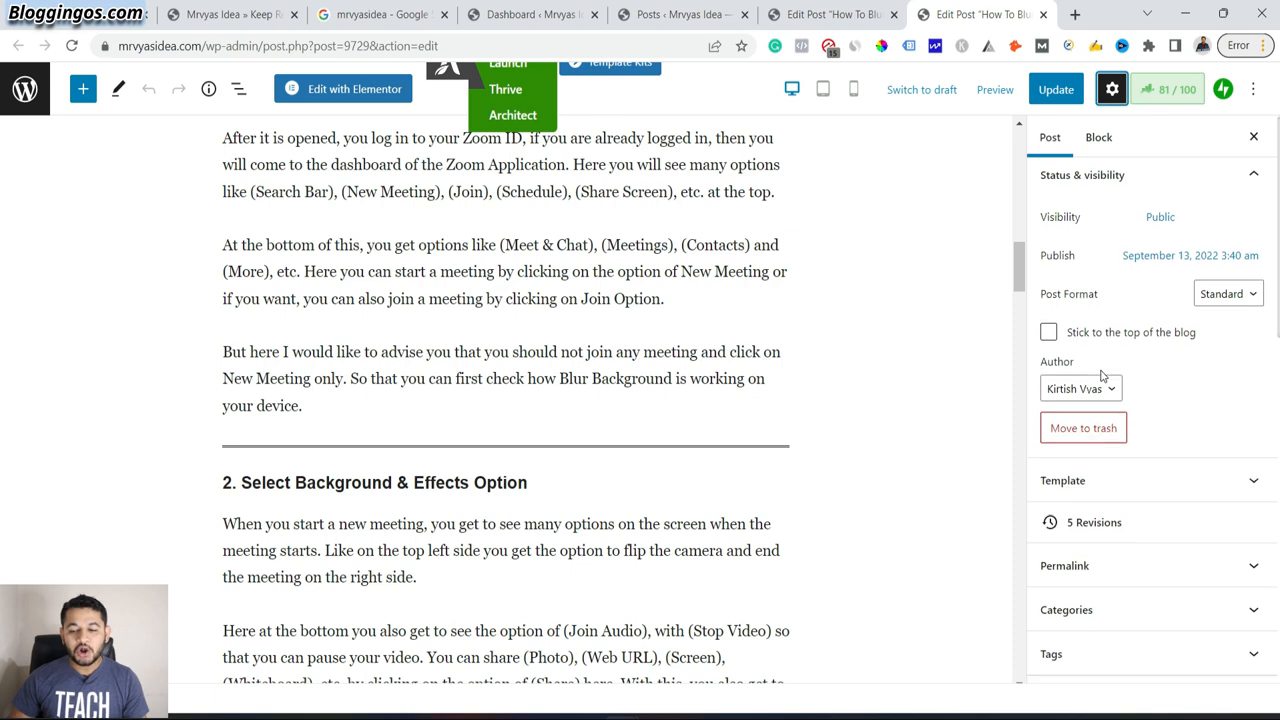
Step 4: Choose Your Feature Image 🖼️
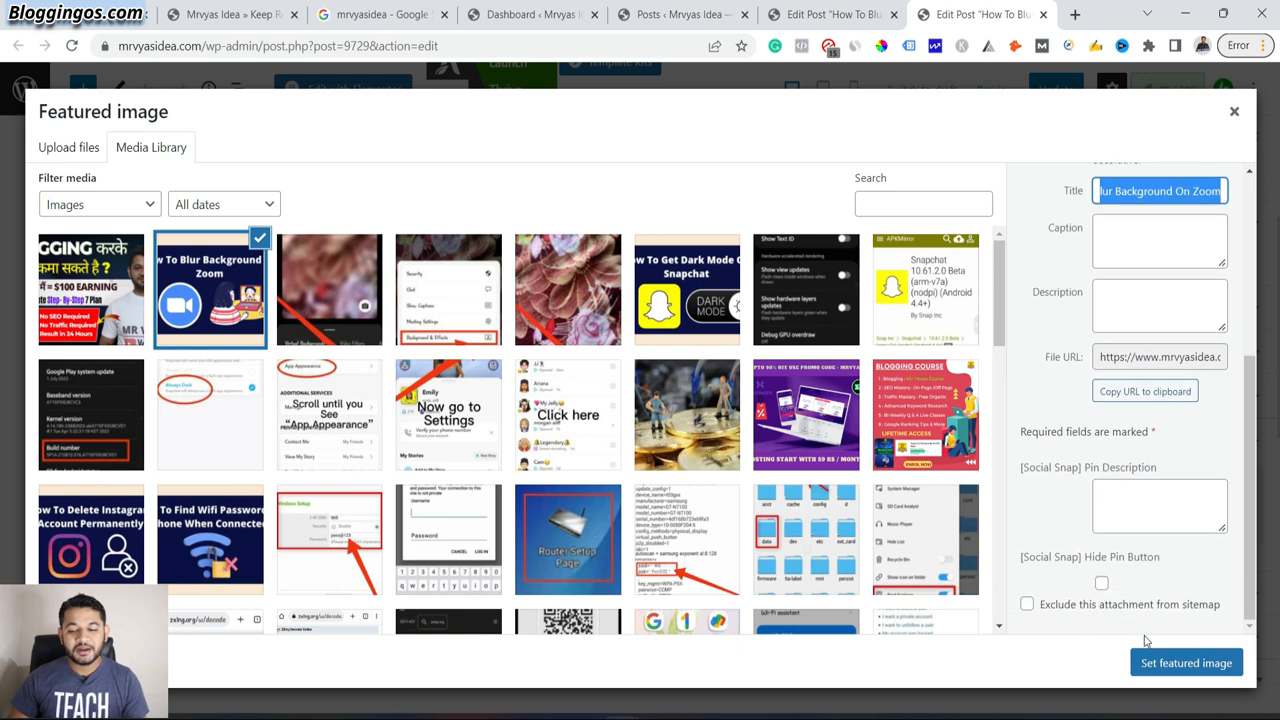
Check along the editor’s right side for a Settings icon. Then look for the Featured Image. There is a button Set Featured Image for you to push. It allows you to choose which image from your library you want to be displayed. You can also upload a new picture. If you use a custom image, click on Upload Files followed by Clicking Choose Files.
Step 5: Adjust the Image for SEO Building 🚀
While working with the image, increase its appreciation level by giving it an Alt Text that describes the image using a particular word. This aids search engines in comprehending the image’s content, increasing the chances of appearing in searches.
It will also be possible to title the image, making it easier to trace it in the future. After completing the process, click the button that reads Set Featured Image.
Step 6: Edit Featuring Posts for a Large Audience 🔄
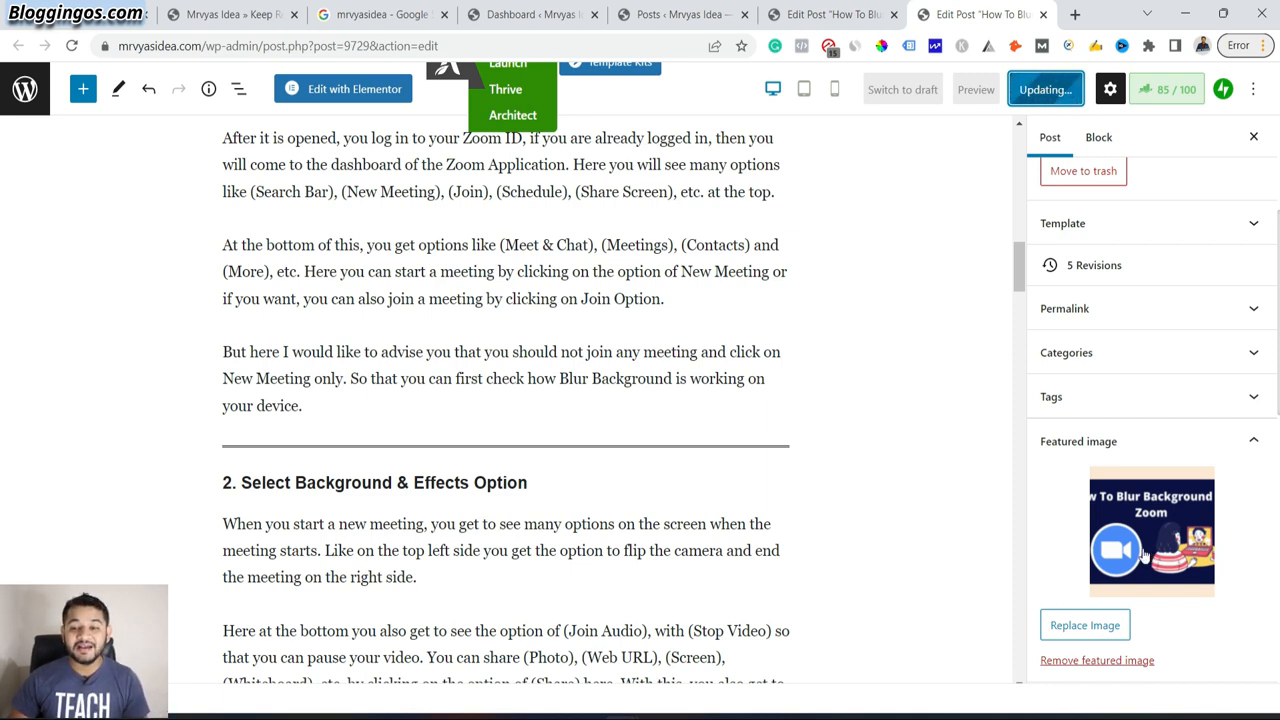
Lastly, remember to always push the Update button to apply the changes that you have just made. Reload the page of your blog to verify that the feature image has been uploaded correctly.
Take a Look at Your Blog Post Once More 👀
Go to the main page of your blog once more and hit refresh to check if the feature image appears correctly in line with the post.
Depending on your theme, the image position may vary. Still, it won’t only enrich the appearance of the post, but also the search engine optimization it.
Conclusion 🎉
Including a featured image in WordPress allows you to connect with the audience and promote the post effectively because it is fairly simple to implement. These five simple actions will enhance the aesthetics of your blog and increase the possibility of coming across the blog through an image search.
