Personalizing the home page of your blog is essential in having users visit and remain on your page increasing the number of page views. This article will explain the procedure on how to Submit Sitemap Google Search Console set up Elementor Pro Design and drag and drop pages simultaneously.
What is a Sitemap and Why is it Important? 📄
A sitemap is like a map of your website.
This contains a number of the pages on your site so that search engines such as Google can crawl and index your content effectively. This practice gives the search engines a clearer picture of the organization of the site that the pages can be indexed in the correct way. Submit Sitemap Google Search Console for organized indexing.
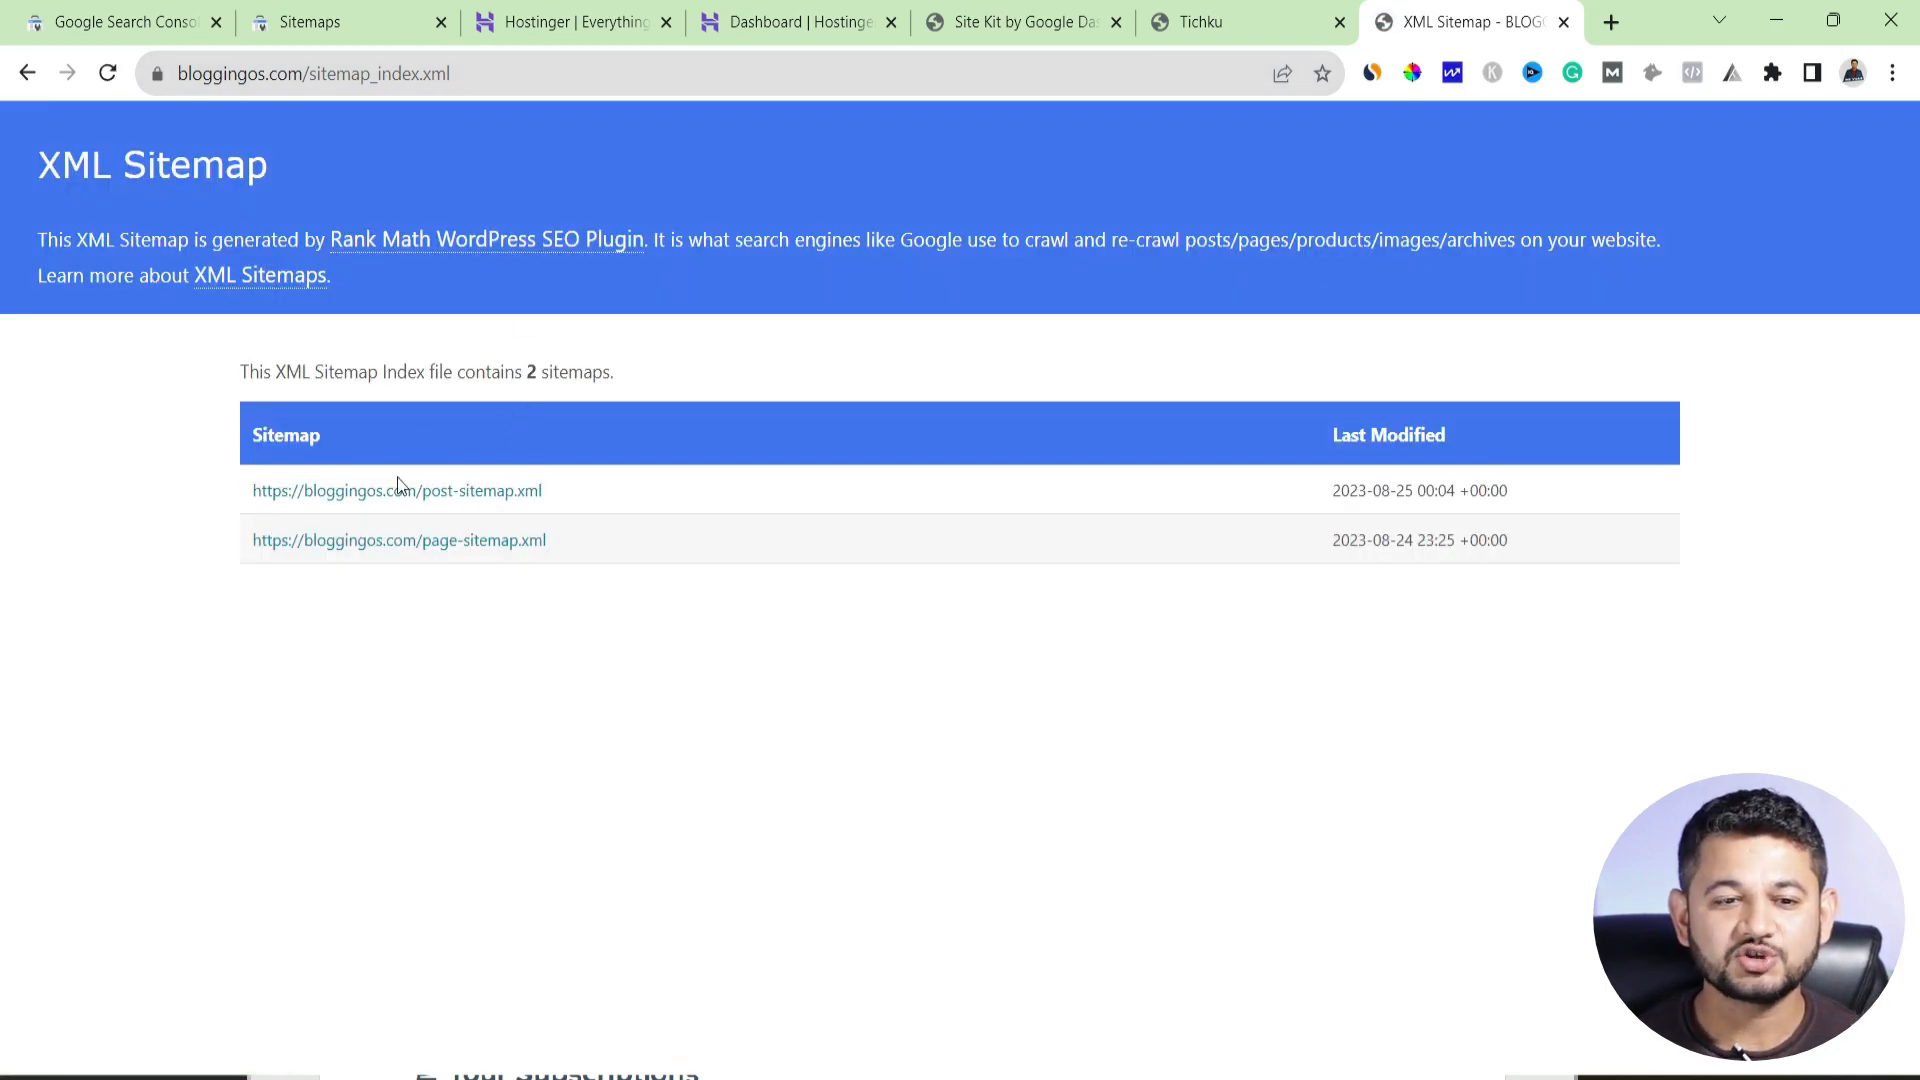
The importance of a sitemap is in a league of its own. It facilitates the accessibility of different pages within the site by search engine spiders or crawlers as they are sometimes referred to. While browsing a website, it’s worth noting that a spider has only a fixed timeframe to view the entire site. Therefore, an efficient sitemap will let a crawler visit the most relevant pages, especially the recently changed ones. This, consequently, can improve the site’s indexation and the chances of it ranking well on result pages.
To put it succinctly, a sitemap:
- Increases the chances of making your site more crawl-able.
- Indicates the pages that require indexing especially if they are new or have been altered.
- Indicates the pages that require indexing especially if they are new or have been altered.
- Has the potential to enhance the search ranking of the pages of the site.
-
Creating a Sitemap from Scratch – Step-by-Step Instructions 🛠️
Making a sitemap for your site will be one of the simpler tasks as you will come to realize. In this part of the guide, we will focus on the steps that are required to make a sitemap in the popular WordPress plugin.
Step 1: Register and verify your site in Google Search Console 🌐
In order to provide your sitemap, the first thing you have to have is a Google Search Console account. If you have not done it up till now, go to the Google Search Console website and click on ‘Start Now’ to create your account and register your site.
Once you create an account, you should go to the dashboard, from which you can manage your site’s configurations. Your domain must be properly attached since it will be important for additional steps in the future.
Step 2: Install a Sitemap Plugin 📥
For those who use WordPress, it is easy to generate a site map since a plugin can be used. Rank Math is among the best-recommended plugins for this purpose. To install it:
- To install it, first go to your WordPress dashboard.
- Once in, visit the ‘Plugins’ section, add new, and click.
- Now in the search box that appears, type in ‘Rank Math’.
- Once you see it, click on ‘Install Now’ and then on ‘Activate’.
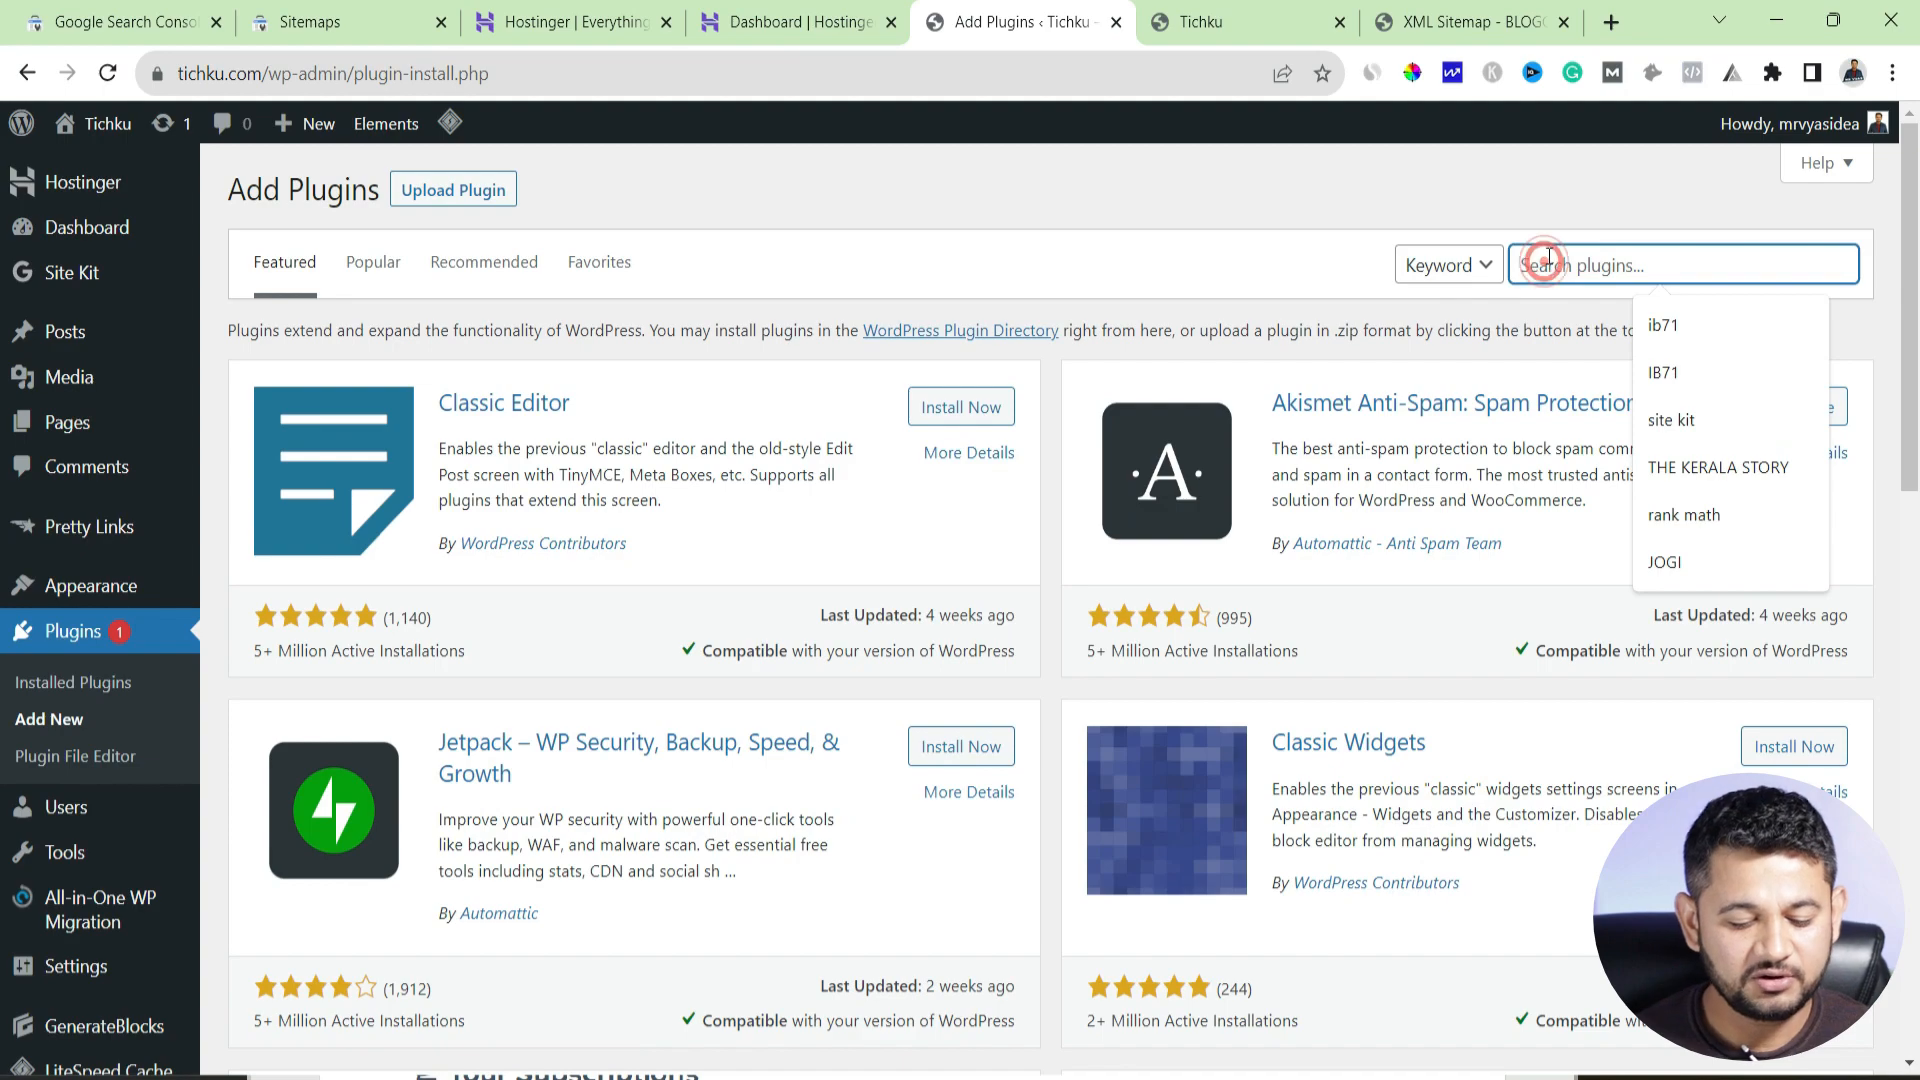
After that, a new section called ‘rank Math’ will appear in the dashboard after activation.
Step 3: Specify the Sitemap Settings ⚙️
Now that rank Math has been activated, you may begin changing the settings of your sitemap. How to do that:
- On your dashboard, go to the ‘Rank Math’ section.
- Select “Sitemap Settings.”
- Then, using the ‘Sitemap Settings’ button in the drop-down menu that appeared after you clicked on the button above, go to the sitemap settings that you require and change them accordingly.
Now you will be presented with various levels of access to modify sitemaps. Do not forget to turn on the options for any desired posts, pages, and images that you may wish to include.
Once you make a choice, remember to click on save changes. This will enable the automatic generation of your site’s map.
Submitting Your Sitemap to Google Search Console 📤
Once you have created your sitemap, the next step in working with Google is to submit the sitemap Google search console. Important to carry out this process so that Google is aware of the location of your sitemap and can crawl the site efficiently.
Step 1: Copy the Sitemap Url 📋
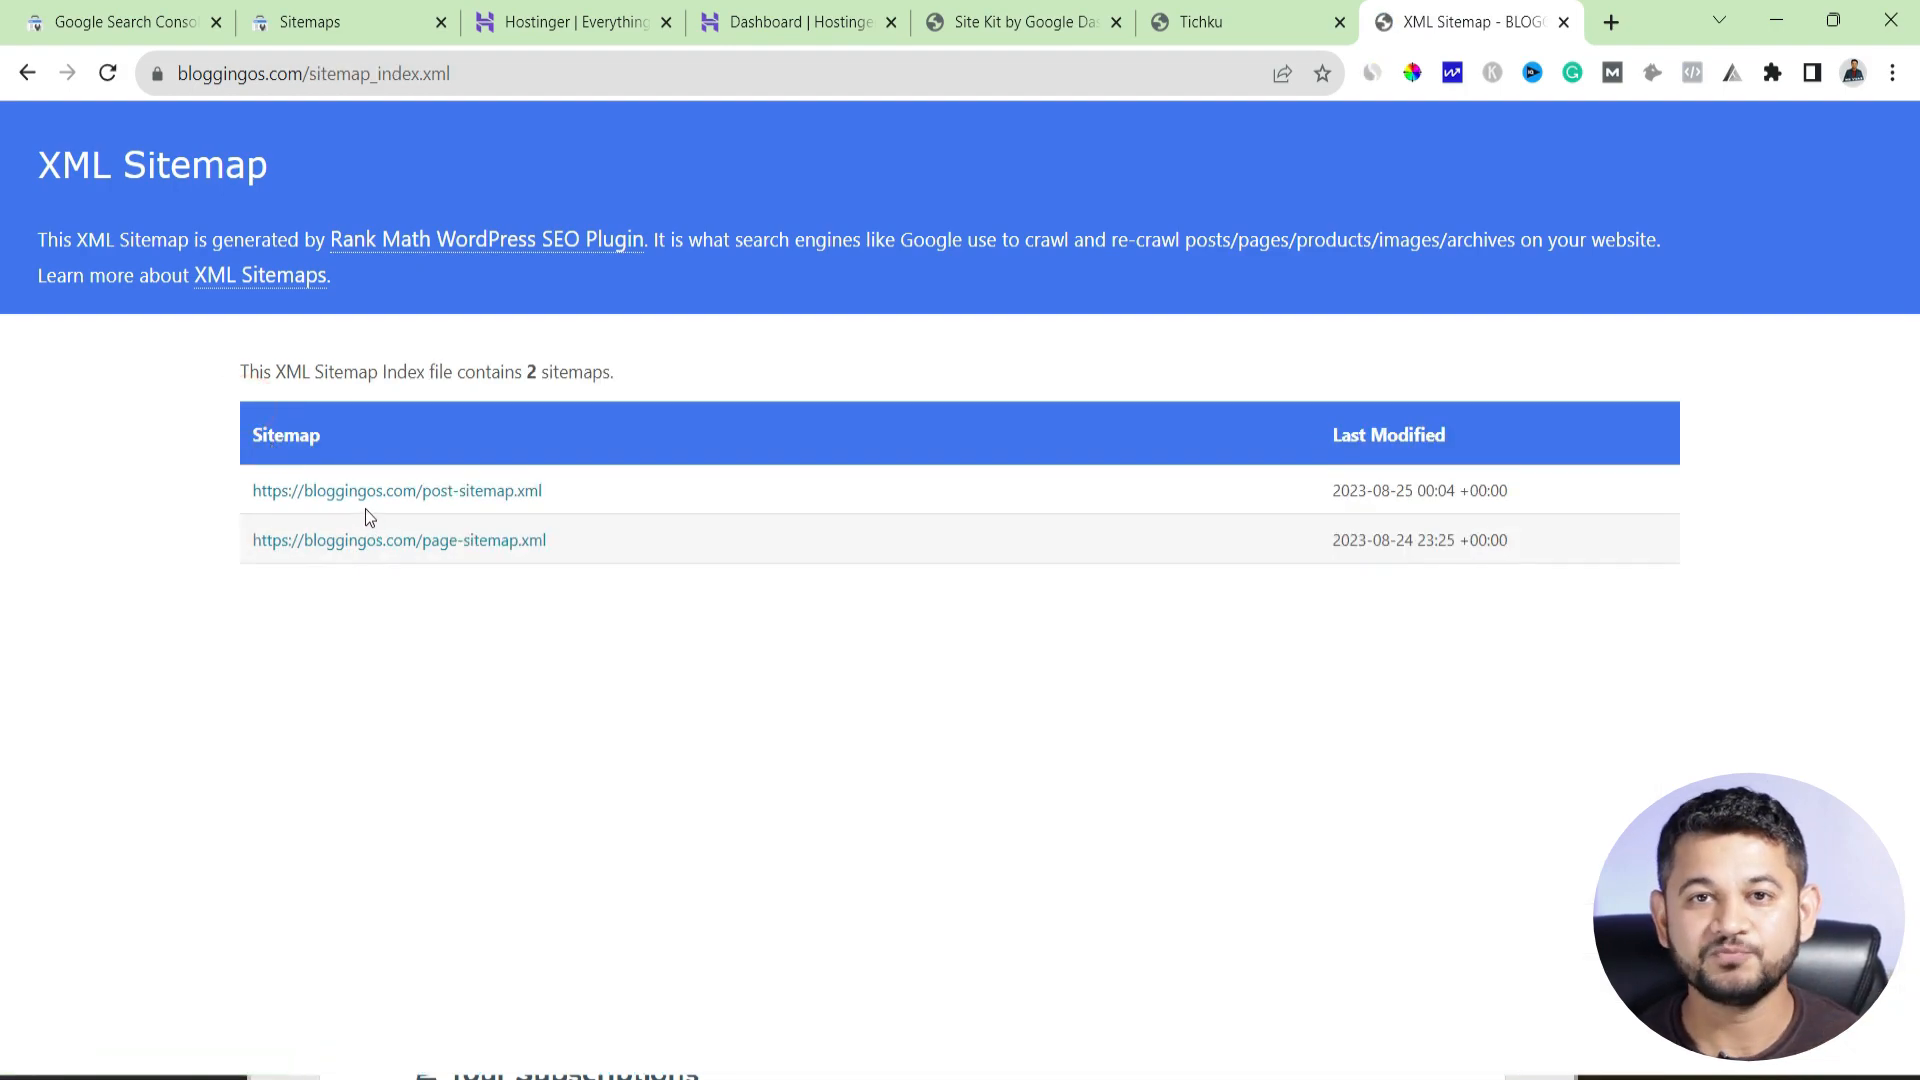
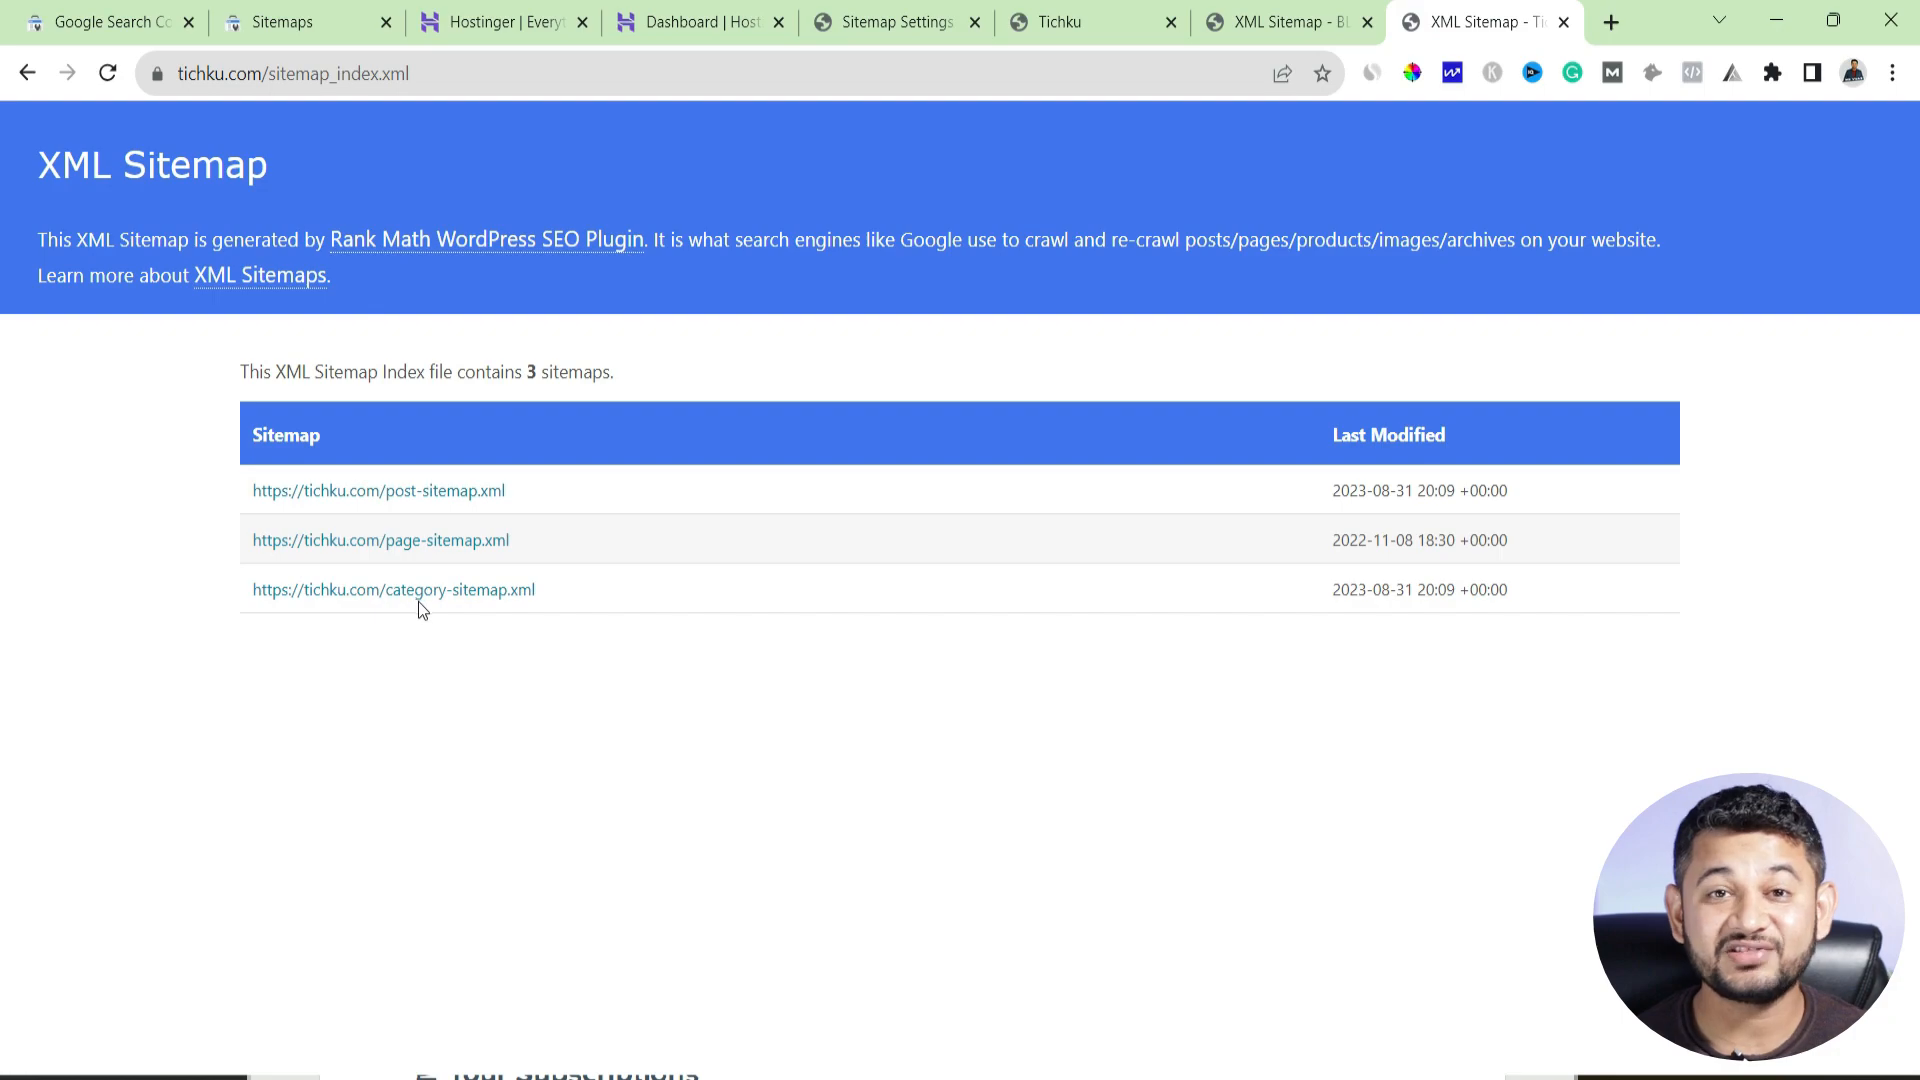
To submit your sitemap you first need to copy the URL. In the Settings area within rank Math, you should be able to see a link that says Sitemaps – which will take you to your sitemap. The domain is usually of this form: yourdomain.com/sitemap_index.xml.
Step 2: Submit the Sitemap in the Google Search Console 🖱️
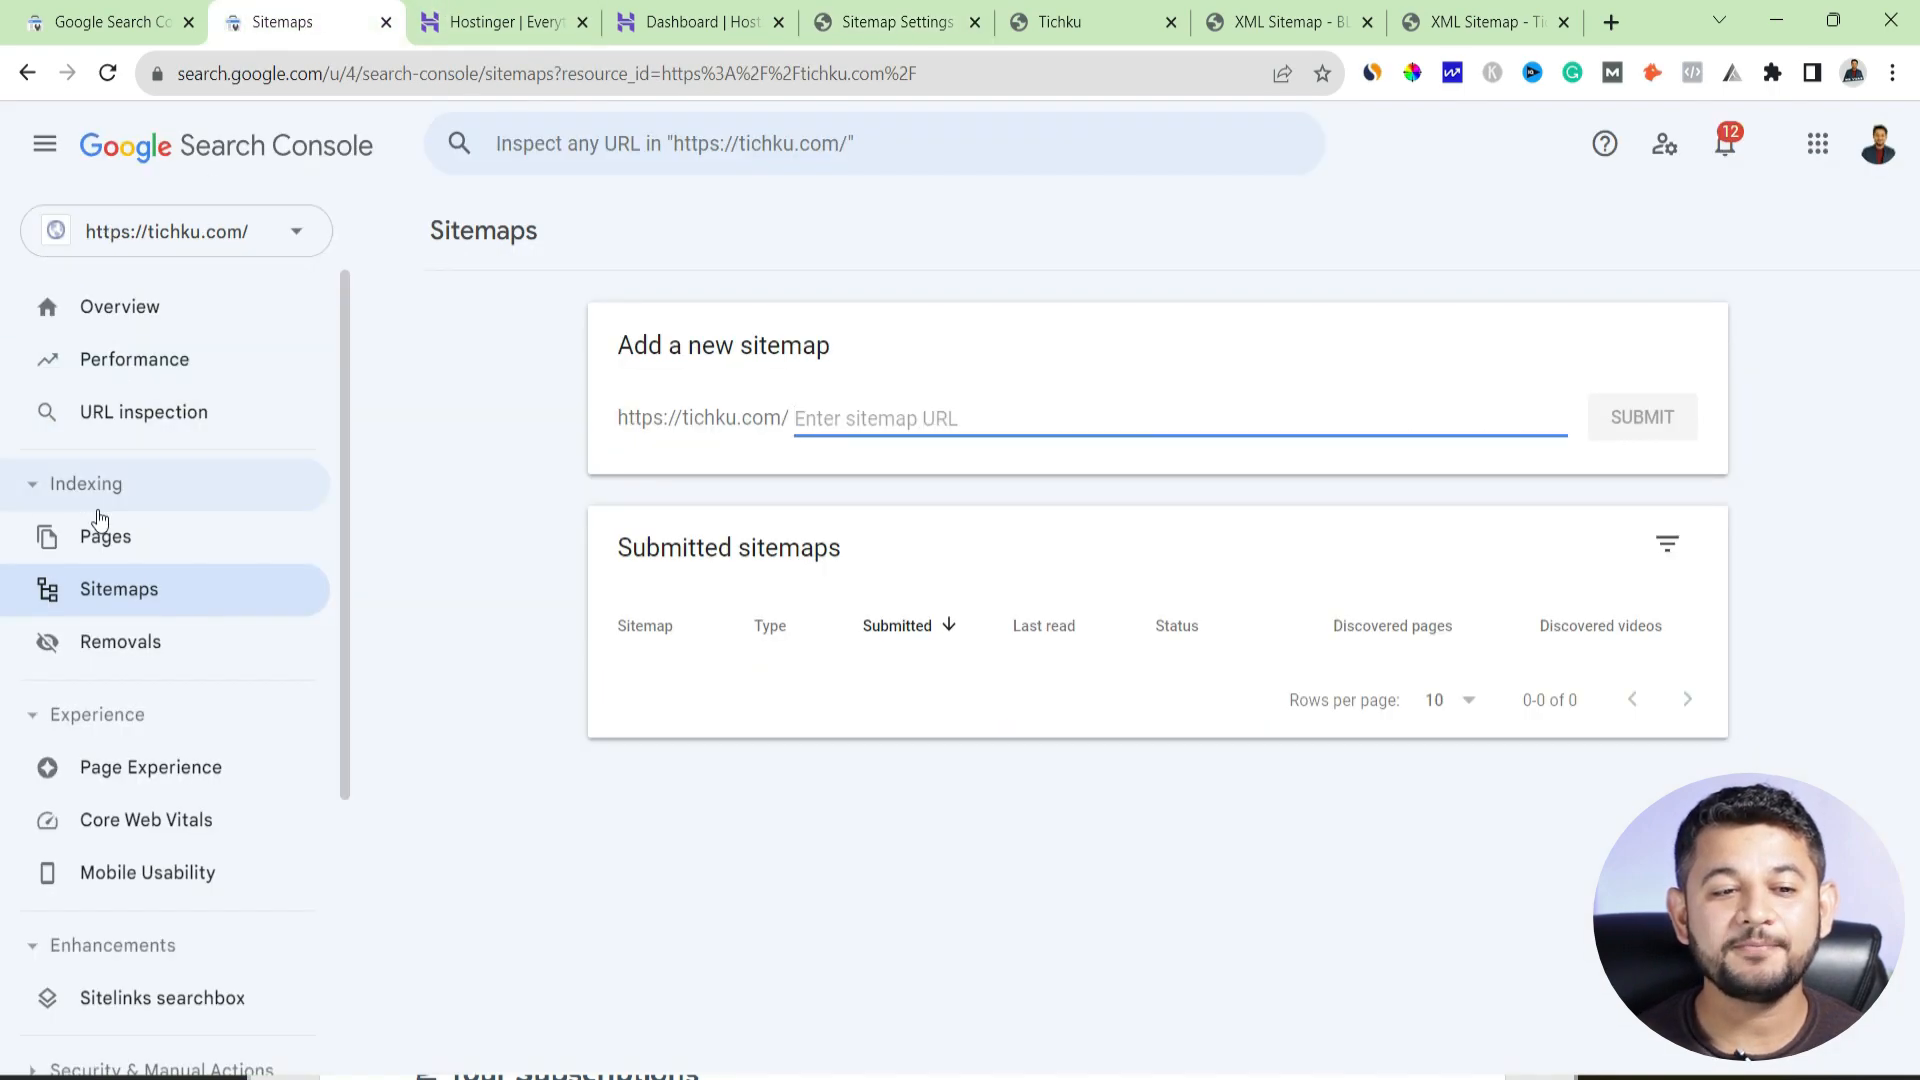
Now with your sitemap URL copied, return to Google Search Console: Go to and select and view the SITEMAPS menu at the left pane.
- Type or paste your sitemap URL in the given space.
- Then click “Submit.”
This will send a request to Google for a site crawl for the sitemap. For the crawler – there should also be success feedback, stating that the sitemap has been found.
Monitoring Your Sitemap Status 📈
It’s worth noting as well that, after submitting your sitemap, it’s equally important to keep an eye on the status of the sitemap. If the sitemap was successful or there were problems in the process, the Google search console will show a warning sign.
As in the previously discussed Strategy 2, remember to check the sitemap section regularly so that you can review:
- The count of URLs that were submitted
- The amount of URLs that were indexed
- Any errors or warnings that may need addressing
Your pages may take some time before they are indexed by search engines. Should problems occur, go over the procedures to ensure that everything is in place.
Final Thoughts on Submit Sitemap Google Search Console 💡
Sitemap submission on Google Search Console is vital for Search Engine Optimization (SEO), this helps to stand a proper index and increase visibility and traffic.
