It’s worth creating a unique header and footer for your WordPress site so that it offers a better organization and navigation experience to the users. In this tutorial, we’ll show you how to incorporate the menus and categories into your header and footer without any plugins. Let’s begin!
Menus in WordPress 🗂️
These allow the user to browse your site with ease. Usually, you will have two or even more interface menus on your site: a primary (header) and a footer. The main one is the primary menu at the upper part of your site (also known as the header), while the footer menu is situated at the lower part of your site.
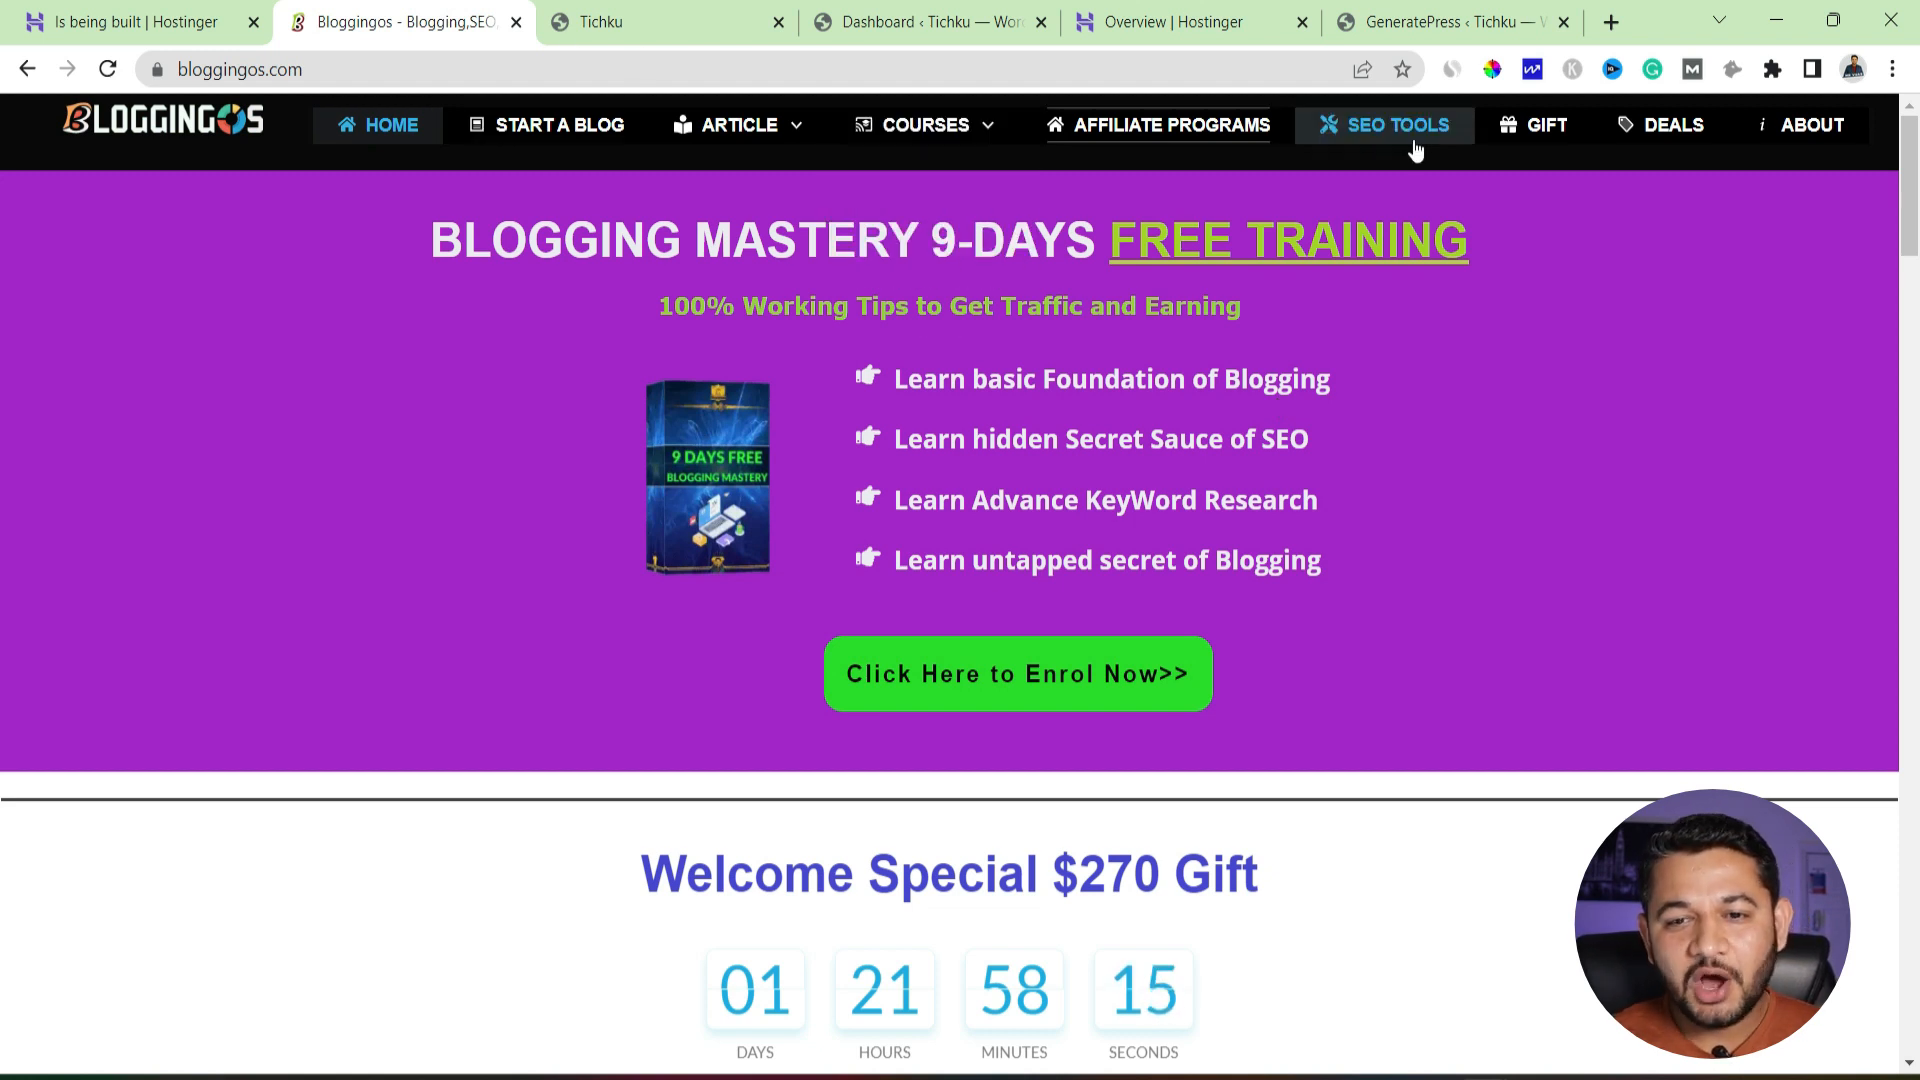
For example, let us consider an example. On a blog like Blogging Voice, the primary menu may feature links to pages such as Home, About, and so on, as well as specific categories. The footer menu may include links to the site’s privacy policy, contact details, and other pages.
Defining the Categories of Your Blog Articles 📂
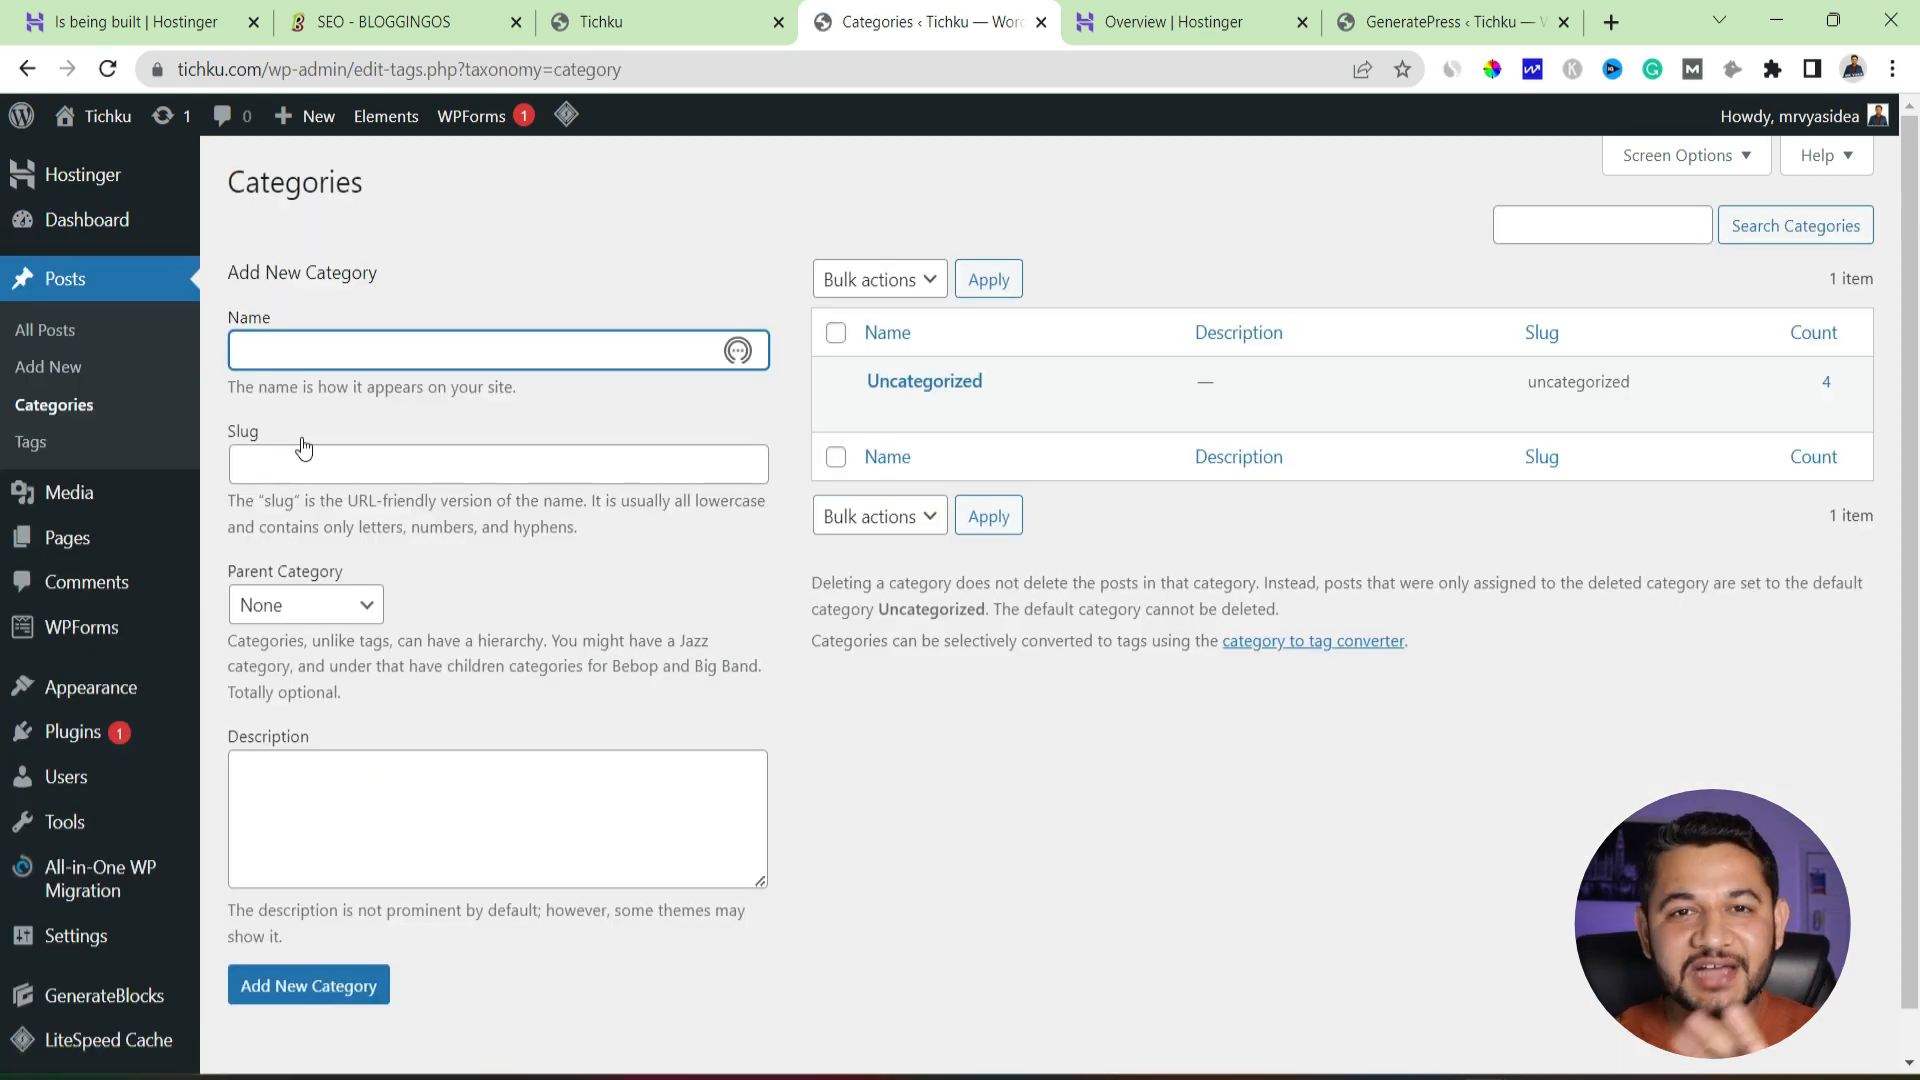
There is one last thing that we must do before we go ahead and set up the menus, and that is to define the categories that will be linking to your blog posts. The main aim of categories is to structure the content and make it easy for users to browse through related articles. To add more categories, do the following:
- Open your WordPress account.
- Go to the ‘Posts’ area and hit the ‘Categories’ option
- Create additional categories that reflect your niche. If for example your blog is based on “blogging” you may have categories like ‘Blogging’, ‘Affiliate Marketing’, ‘YouTube’, etc.
Creating Your Primary Menu 🔧
Now that you have your categories, it is time to move on to the next step which is pretty much straightforward creating your primary menu which will be shown across all your WordPress headers. Here’s how:
- Head to ‘Appearance’ and drop down the list that reads “Menus”.
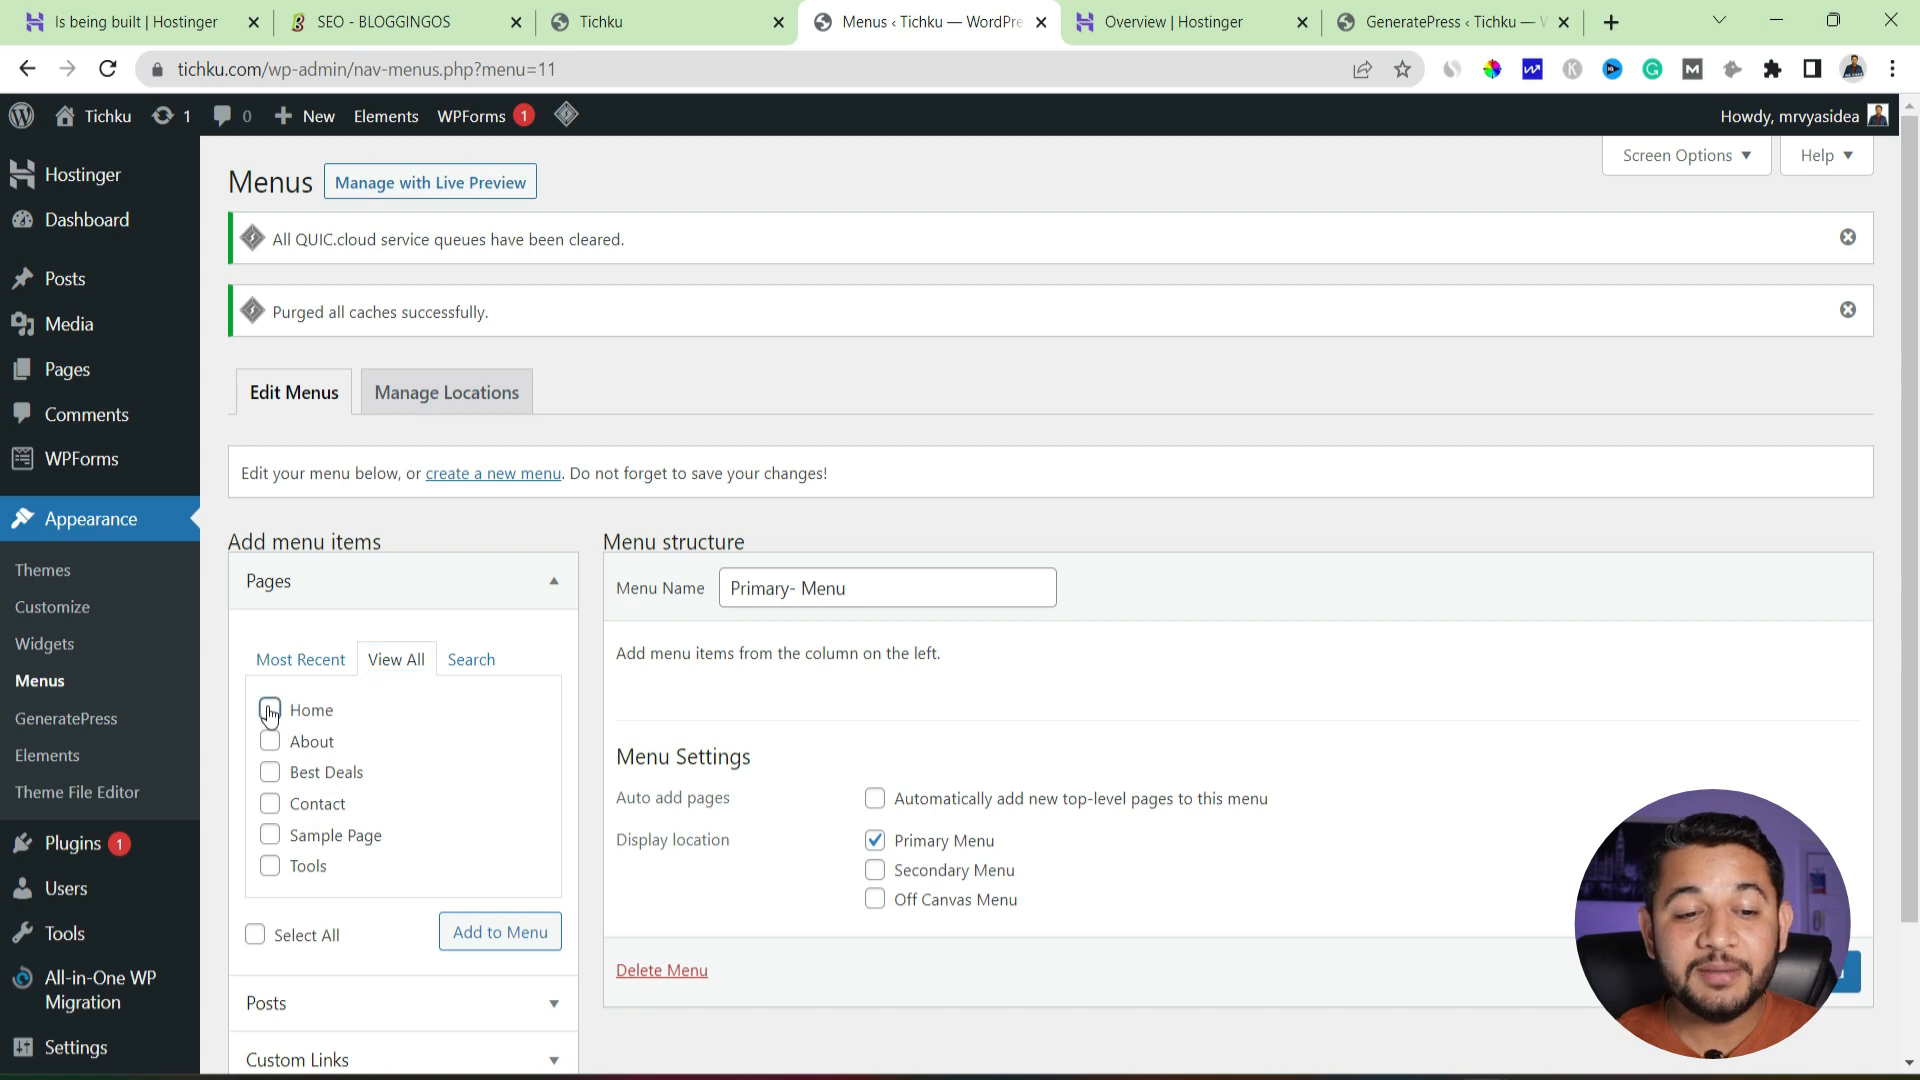
- Allow the system to retain you under the previously mentioned link and simply press ‘’Create a new menu’’ and enter a name for your menu, for example, ‘Primary Menu’.
- When creating the menu locate the display location and select ‘Primary Menu’ from the options.
Select Create Menu✏️
After the menu has been created, edges can be added to it. When creating the menu, edges can be added to the blog, post, and even categories. It’s up to you whether you want to link any given post category or website, for example, using the pages of this home page and about page on the primary menu.
Customizing Your Menu Items 📜
Once your primary menu is created, you can go ahead and edit the menu items for easy access. Here is how to do it:
- From the available pages, posts, or categories check the items that you wish to add.
- Click on “Add to Menu”.
- As per your requirements, drag and drop the items to the required position.
- Once you are happy with your choices, click “Save Menu “.
- This customization helps you alter the names of menu items so that they are shorter or more explainable for the users. For example “Top 10 Contact Form Plugins” can simply read “Best Plugins”.
Creating Your WordPress Header and Footer Menu 🎨
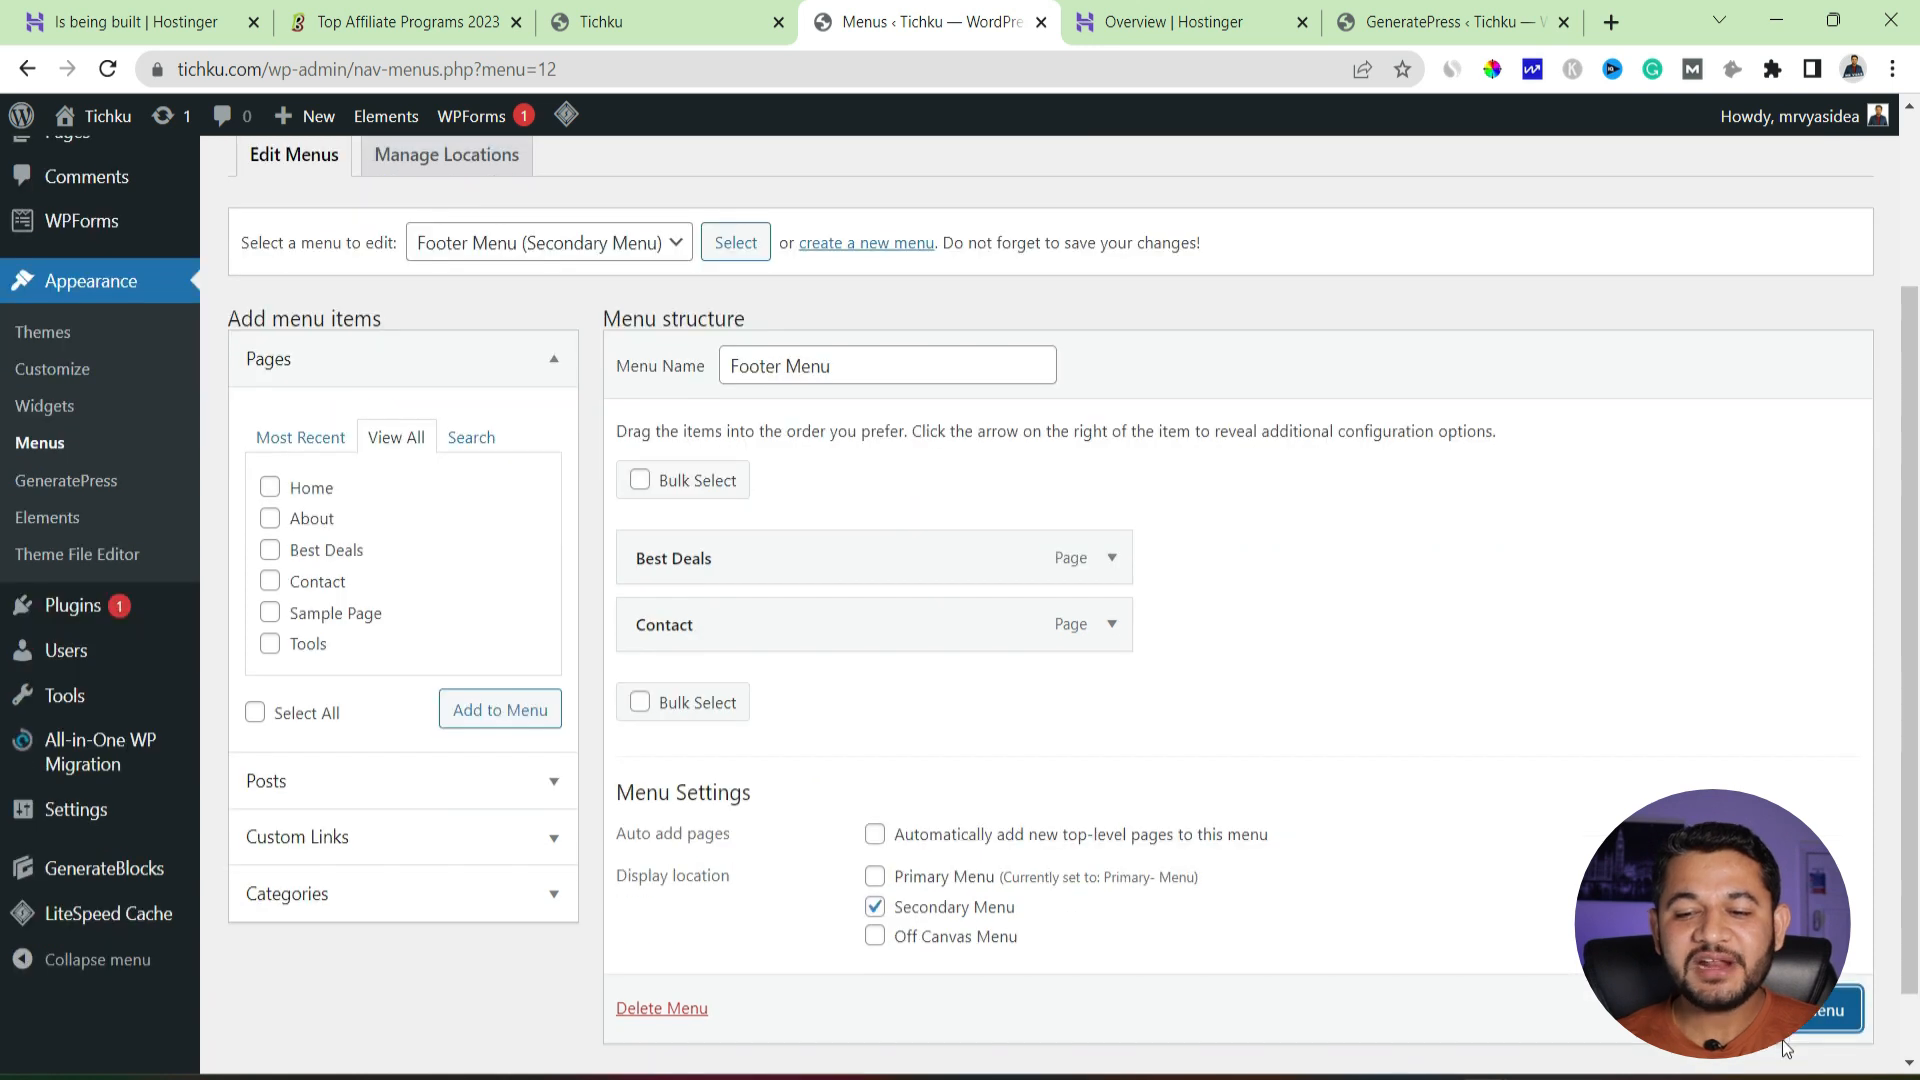
Now That your primary menu is done, you can make a footer menu. A footer menu contains essential links that the users may wish to have access for example contact details, and a privacy page.
- Once more, go to “Appearance” and then “Menus”.
- Click on “Create a new menu”, and name it “Footer Menu”.
- Make the site location “Footer Menu”.
- Make this a menu that includes pages such as “Contact” and “About”.
- Then proceed to “Save Menu”.
Now that you have created both the primary and the footer menus, it’s time to put them in their designated positions in your WordPress header and footer. The easiest way to do this is using the widget section of your WordPress theme.
Enhancing Your WordPress Header and Footer with Additional Links 🔗
While the footer menu typically includes standard links, you can also enhance it by adding recent posts or custom links. This flexibility allows you to keep users engaged by showcasing your latest content directly in the footer area.
- Head to “Widgets” on your dashboard.
- Search for the heading and the footer options.
- For headers, make use of the “Navigation Menu” and pick the primary menu.
- For footers make sure to select the footer menu.
- Press “Update” after you are satisfied with the changes you’ve made.
After updating go ahead and refresh your website and take a look at the changes. The primary menu. Should now be on the top of the website, and the footer menu should be at the bottom.
Closing Remarks on WordPress Header and Footer Customization 🎉
Designing the header and footer for your WordPress site is an uncomplicated task that helps in navigating the website and enhancing the user experience. These are the guidelines you can use for creating and adding the first menu and the footer menu, linking the categories, and arranging the deck content.
