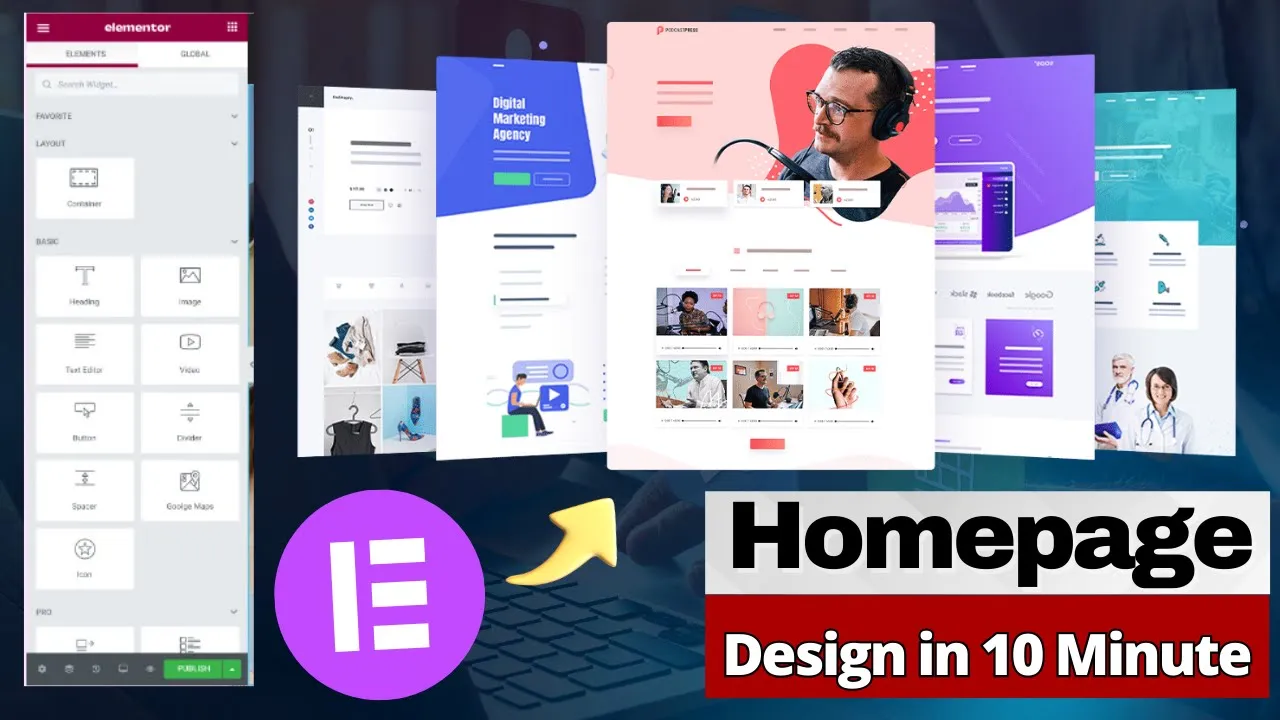
It is important to customize a blog’s home page in order to gain and maintain the audience. An attractive home page, when well executed, can increase the page views of a website fully. Special importance should be placed on having custom home pages in blogs and on business sites with price lists, reviews, and other ways of promotion. This article will teach you how to install and use Elementor Pro Design, one of the most popular drag-and-drop builders, in order to create beautiful pages in no time.
🌟 Introduction to Elementor
Even as virtually all plugins come with their intricacies, Elementor is one WordPress plugin that is widely used because of its simple drag-and-drop functionality. You can easily build page templates, and embed images, videos, and texts while enhancing your page speed and performance. The following guide will enable you to access the critical steps on how to use Elementor in designing the home page.

💰 Grasping the Value
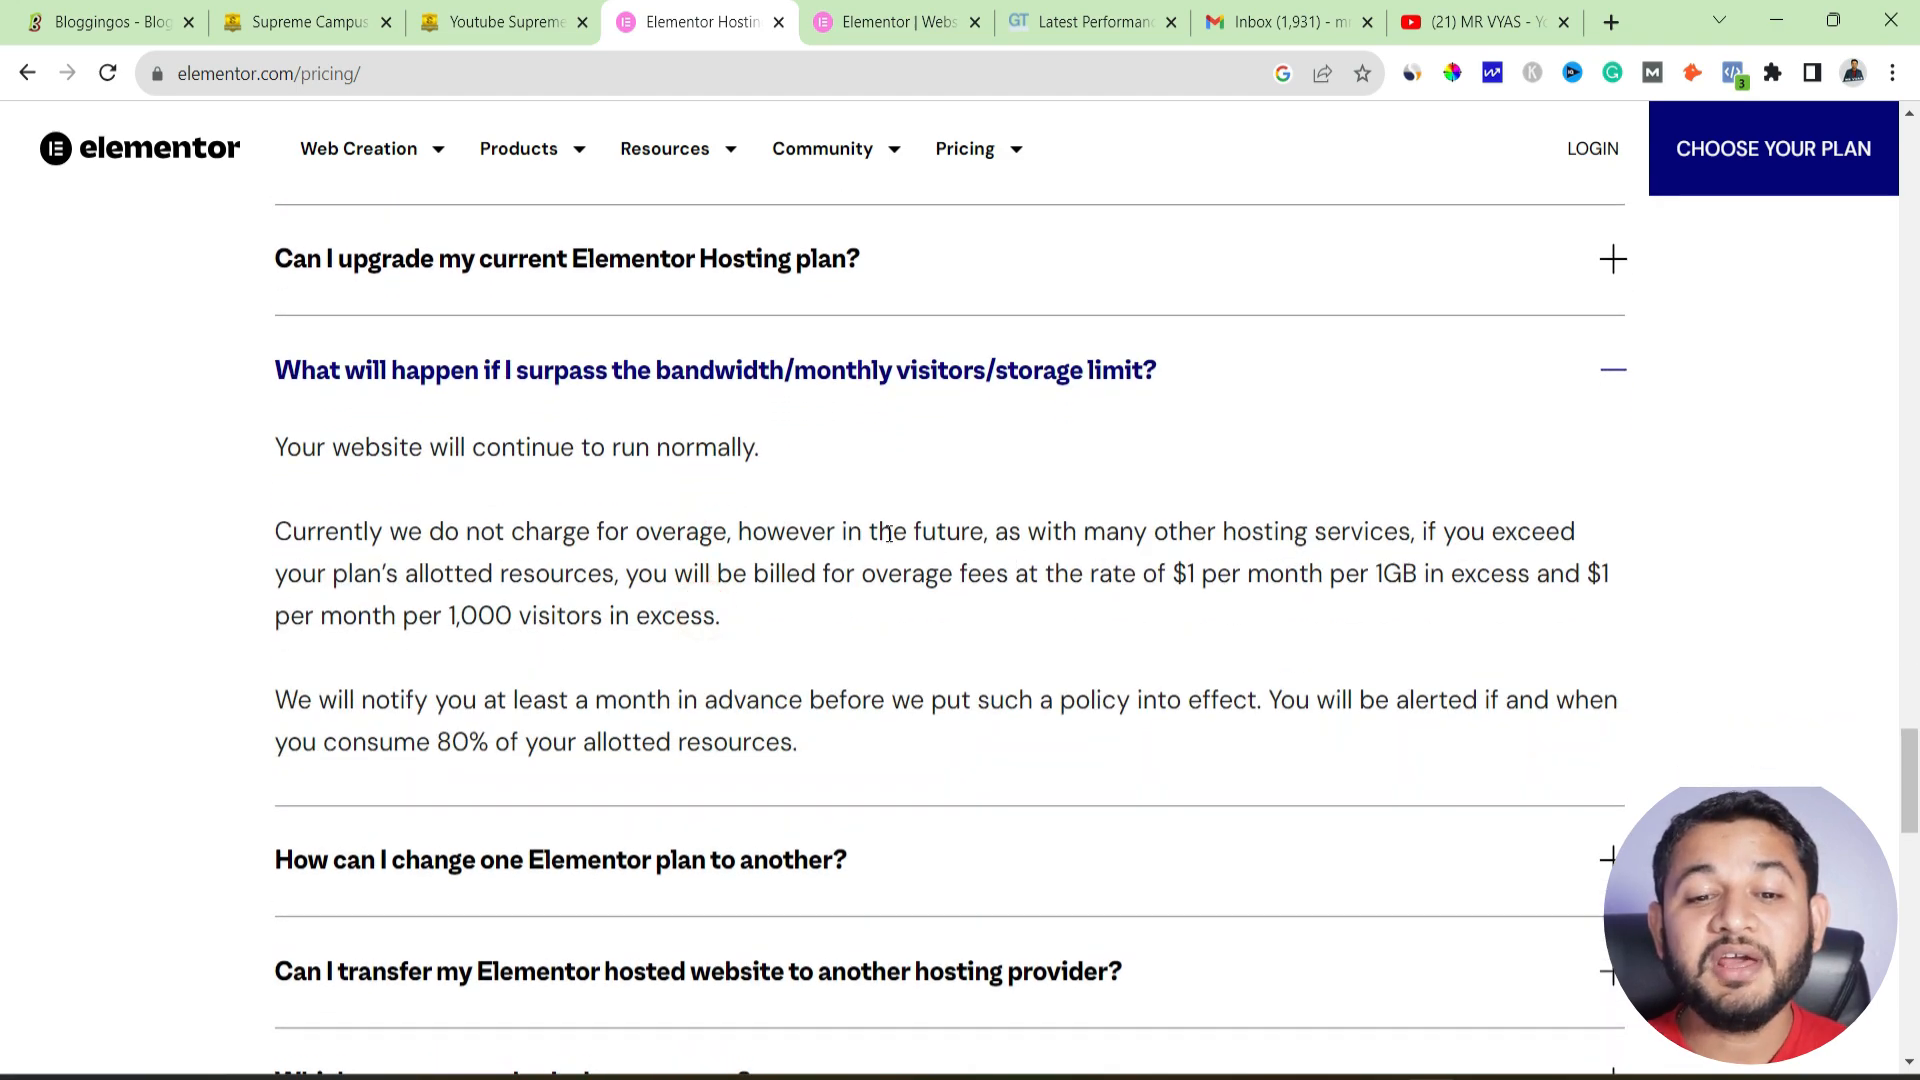
With Elementor, it is important to focus on the value. For a single site, the Pro version of Elementor goes for about $60 per year. While this might be bearable, many novice users will always look for ways to save money. Well, there’s always a reason to be glad since, for about $10 a month or 120 a year, you can get an Elementor-hosted plan. The features available on this plan are:
- 10 Gigabytes of space
- 25,000 unique visitors a month
- 30 GB of transfer each month
- SSL for absolute security
- CDN for extra reliability and speed
On top of all this, this hosting package comes with the Elementor Pro license that costs about $60 USD separately.
🛠 Setting Your First Page on the Application
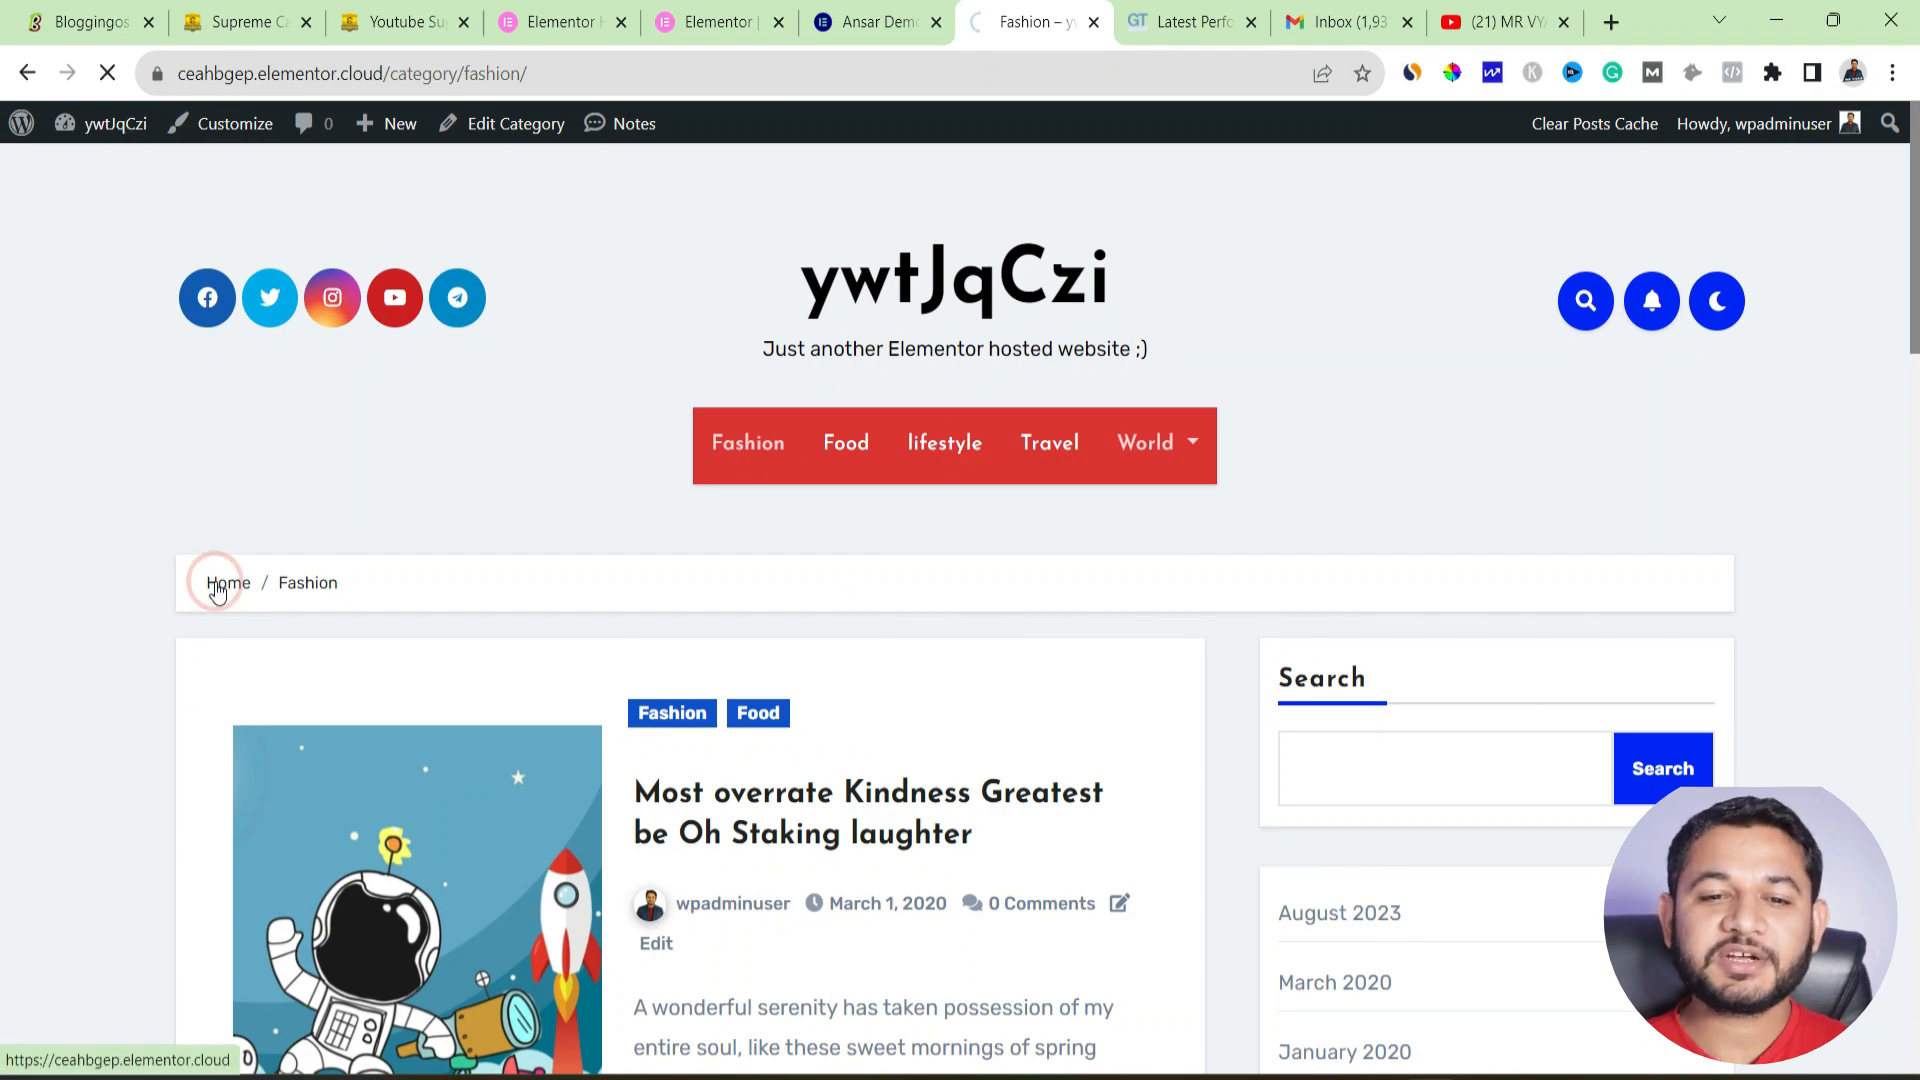
Once you have completed your hosting and installed Eelementor, you are ready to create your first page in the application. For this, perform the following:
- Locate the ‘Pages’ and select ‘Add New.
- Enter a name for the page (for instance, ‘Home’) and click ‘Save’.
- Change the template setting to ‘Elementor Canvas’ in order to get a blank page.
This approach makes it possible for one to create designs without being restricted by the current theme of his or her website.
🎨 Developing a Menu for Your Page
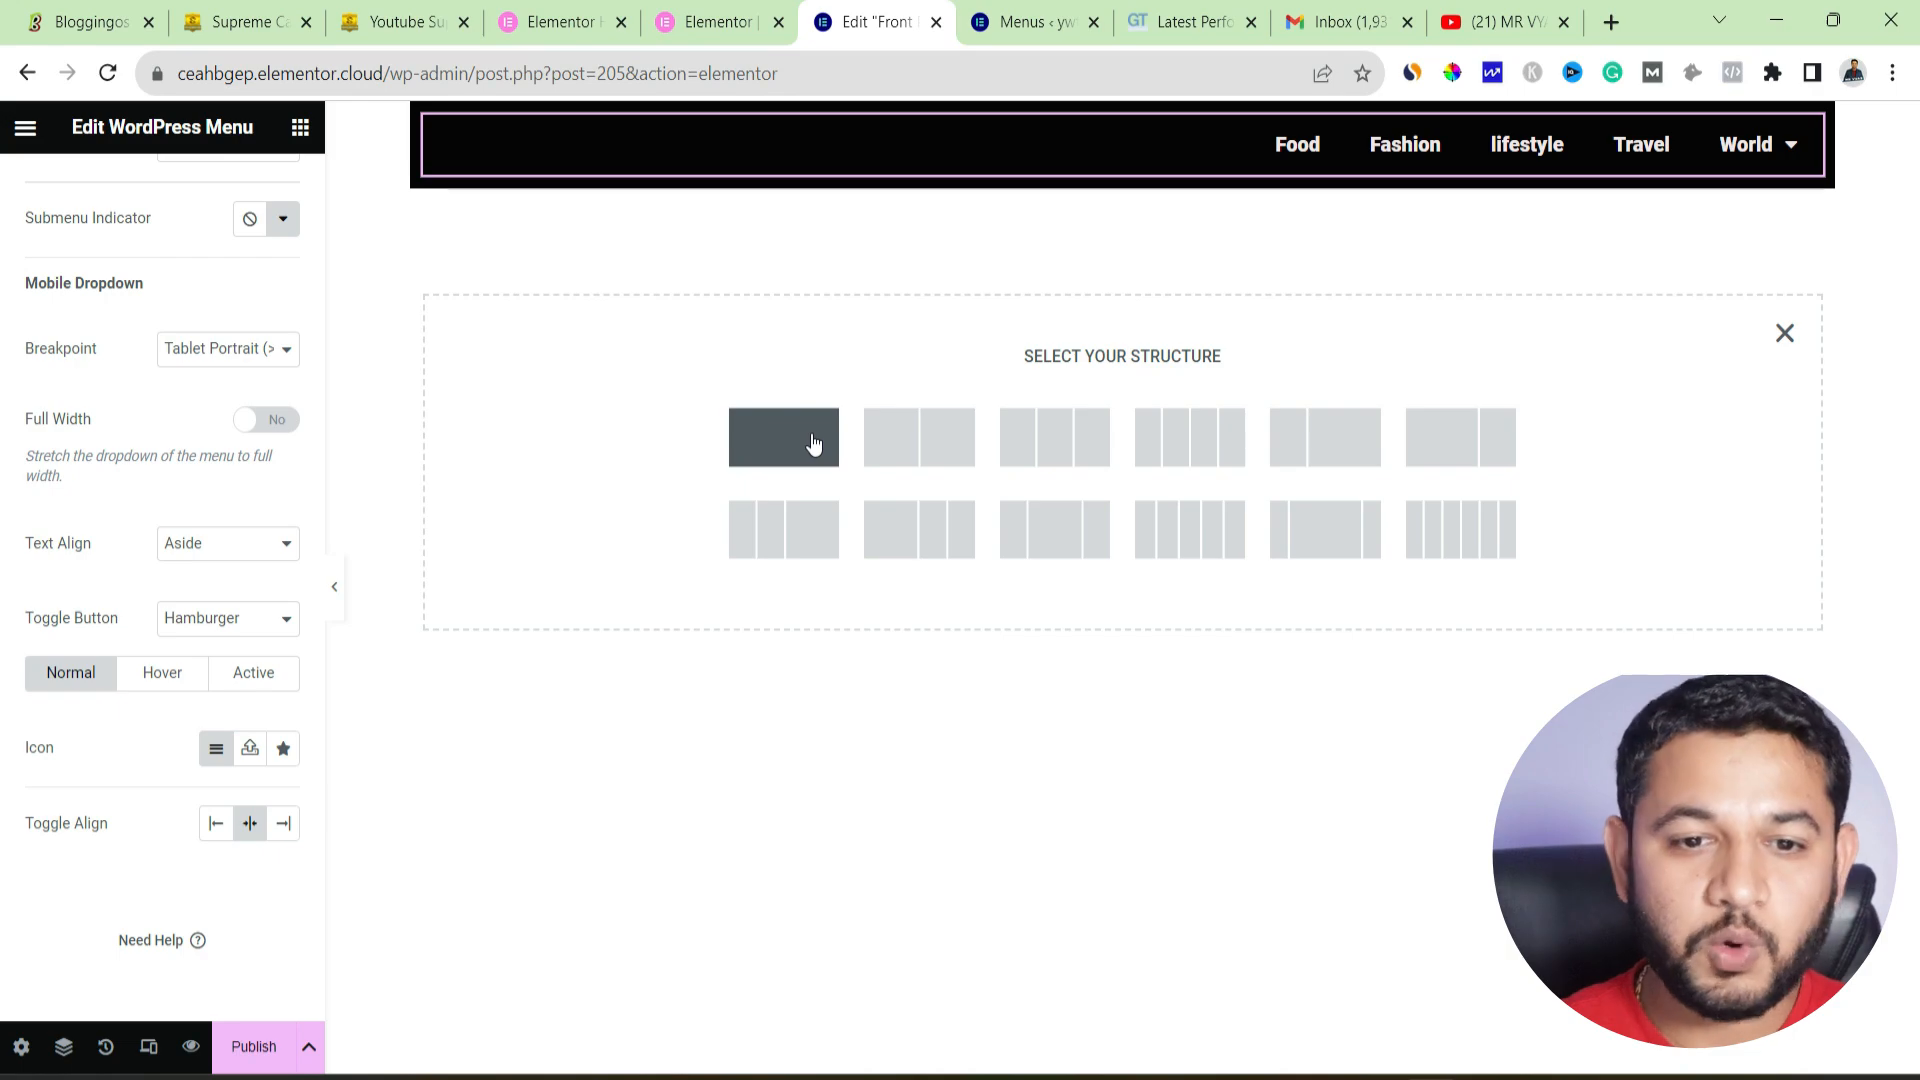
Firstly, don’t go for built pages with no content. Secondly, give your page a menu – this is a must. To do this, do the following:
- Search for Nav Menu in the widget panel of the Elementor page builder editor and select it.
- Drag and drop the widget to the relevant section of the pages you have chosen, using the section controls, drag and drop the desired area.
- Select the external menu available in WordPress.
- Change the placement, the style, and the colors according to your company.
It is important to make a menu as it makes the navigation process easier.
🖊 Including a Heading and Content
When the desired menu is created, you can proceed to the next stage which is adding a heading or content to be displayed on the page:
- Set the “Heading” widget as the main title for your page
- Adjust the font size, color, and type.
- For further content, make use of the “Text Editor” or “Image” widget.
It’s important that the title and content you provide on the page appeal to the target audience and are appropriate for the business organization.
📜 How to Add a Link in Elementor Pro Design
Custom links enable people to visit certain pages on the site or a website. To introduce a personalized URL link you need to:
- Use the “Button” widget to link where you want somebody to click.
- In the settings, you insert a web address.
- Adjust the appearance of the button so that it becomes conspicuous.
Custom links ensure that important areas of the site are accessible and will attract visitors.
🚀 Completing Your Page Design with Elementor Pro
After all the parts have been placed, there is a need to complete the design of the page:
- View the page in responsive view in order to test how the page shall appear on mobile devices.
- Modify where necessary to ensure that usability is not affected.
- Press the “Publish” button to enable users to view the page.
Congratulations! Now that you have all custom home pages using the Elementor page builder, this assures the aesthetics of your website and maximizes user interaction.
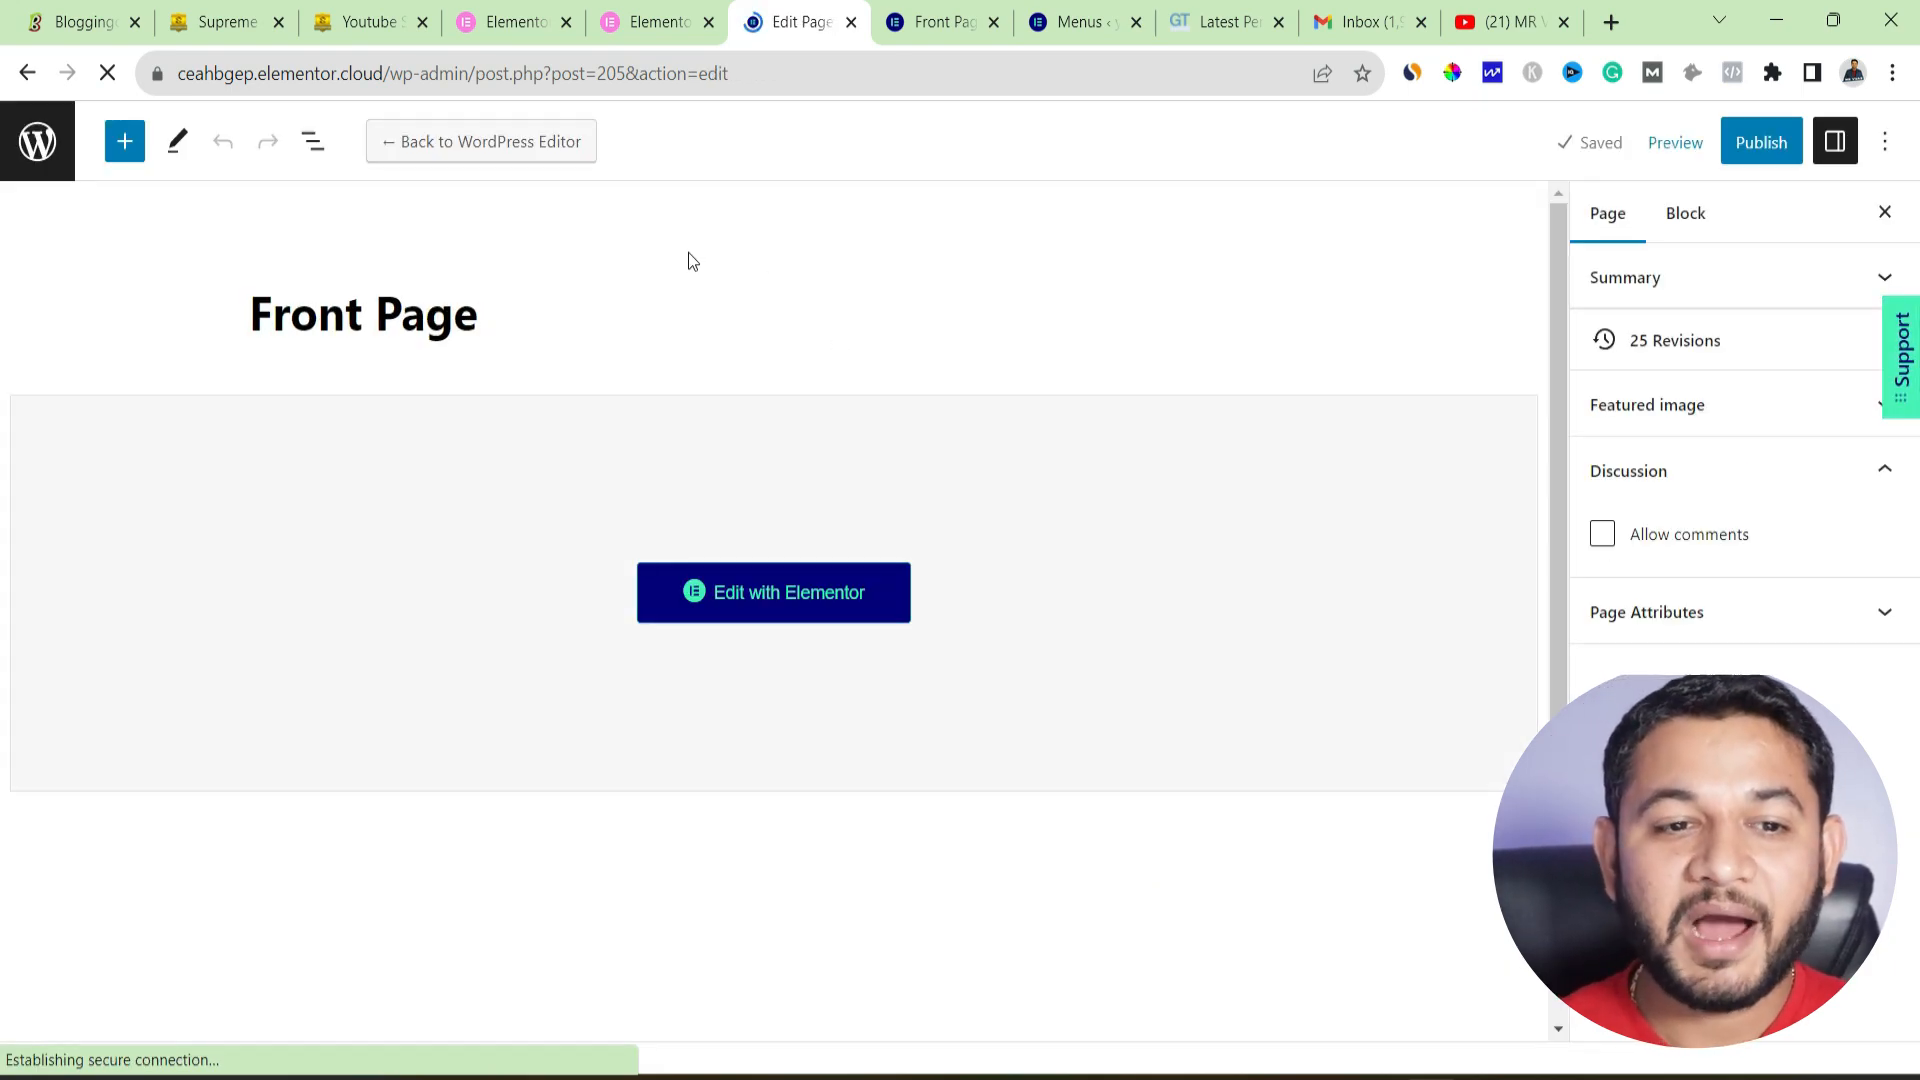
🔄 Changing Your Home Page with Elementor Pro Design
To apply the changes made on the new page to be the homepage:
-
- Point the cursor to ‘Appearance’ and hit ‘Customize’.
- Click on ‘A static homepage’ from the ‘Homepage settings’ page.
- Look for and click the required drop-down for the new page you’ve created.
- Click publish and reload the website.
Great! Now you have successfully created a new homepage with Elementor and increased not only the website’s looks but its usability as well.
🎉 Conclusion on Using Elementor Pro Design
It is highly beneficial in designing a home page using Elementor. Making use of the hosting package as well as the Elementor Pro would mean many options for designing a decent website without spending too much. The combination of simplicity and reusable elements of the interface позволяет admits, that the custom-created pages in Elementor shouldn’t cause much trouble for newbies or experienced developers.
